DIAM Public Key Generation and Saving Instructions
Steps to install Diam Wallet and Generate Diam Public Address
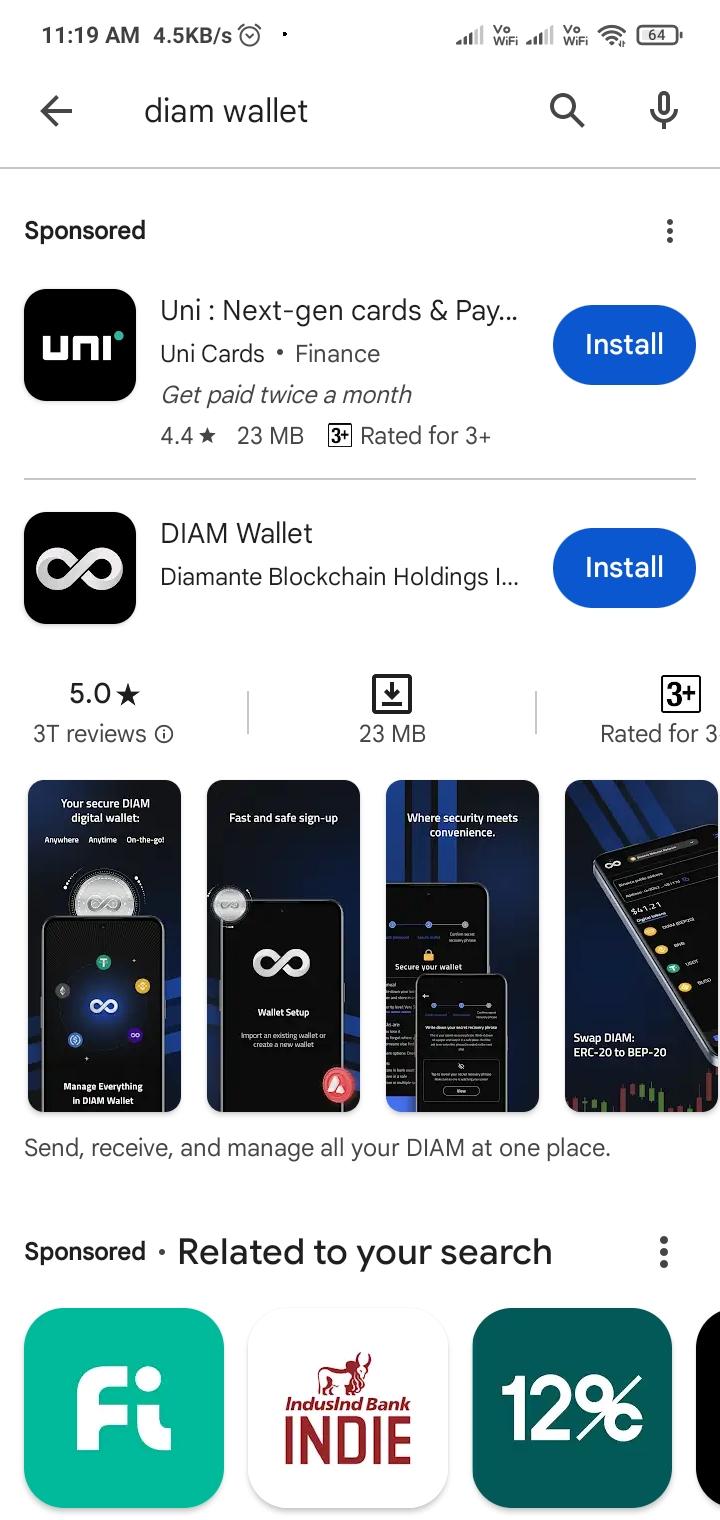
1. Open the Google Play Store on your device and search for "Diam Wallet." Once found, click on the app to install it.
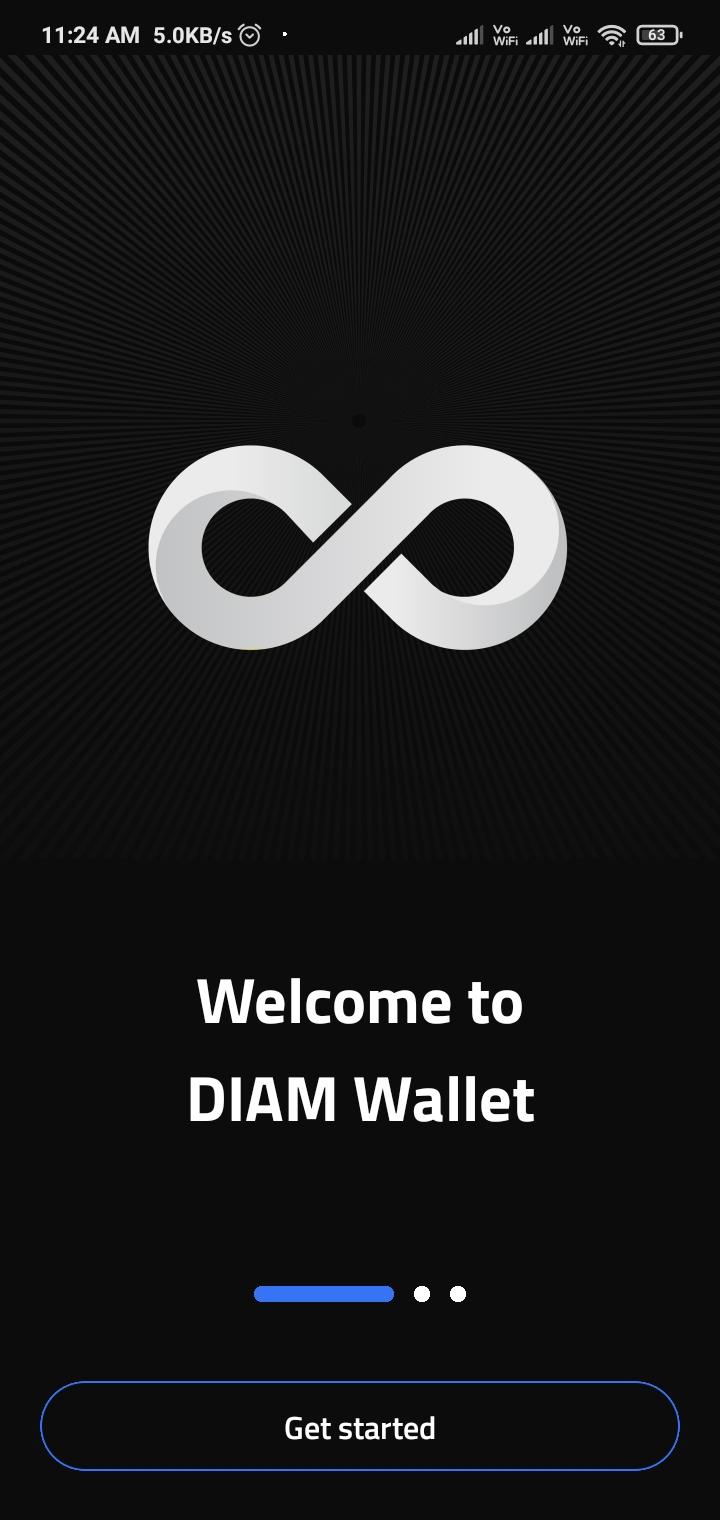
2. After the installation is complete, open the Diam Wallet app and tap on "Get Started."
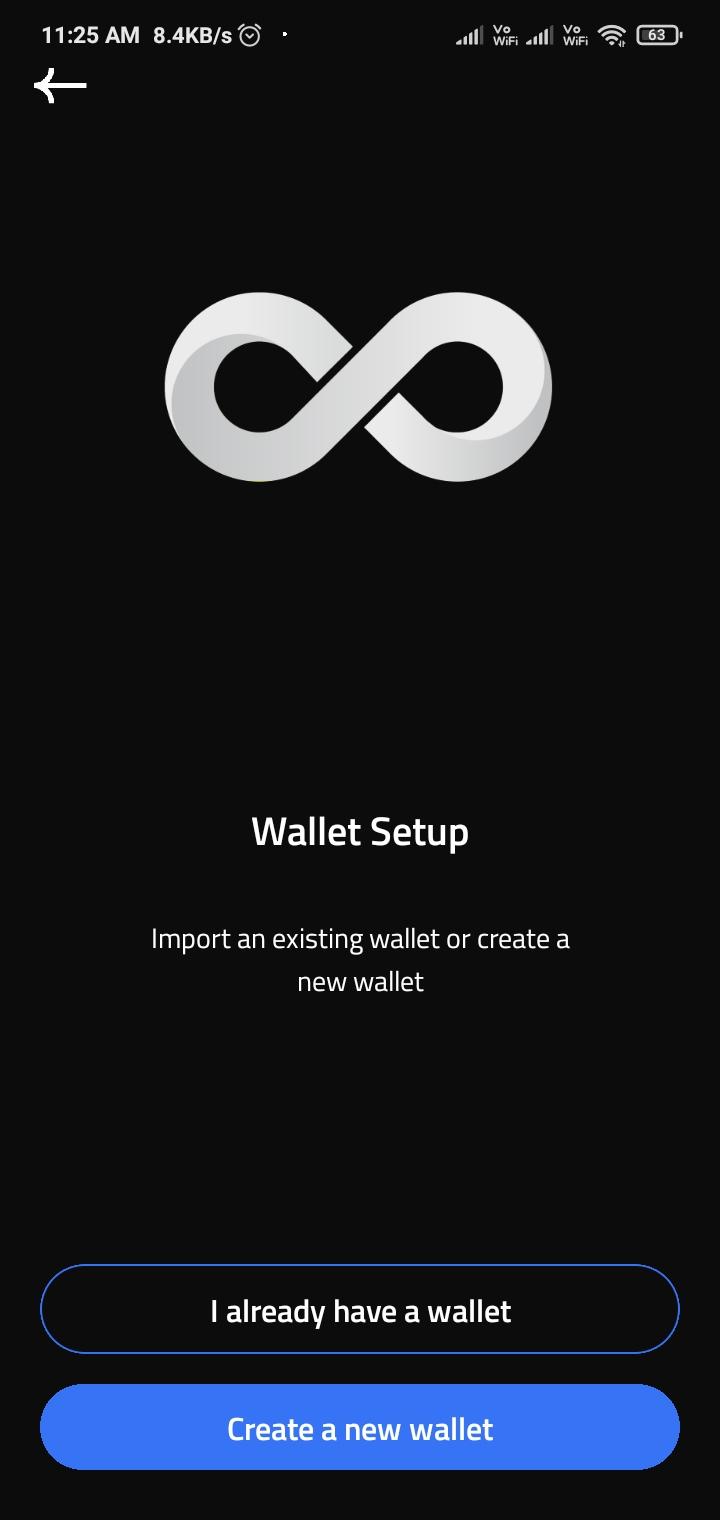
3. Next, select "Create a new wallet" from the options presented.
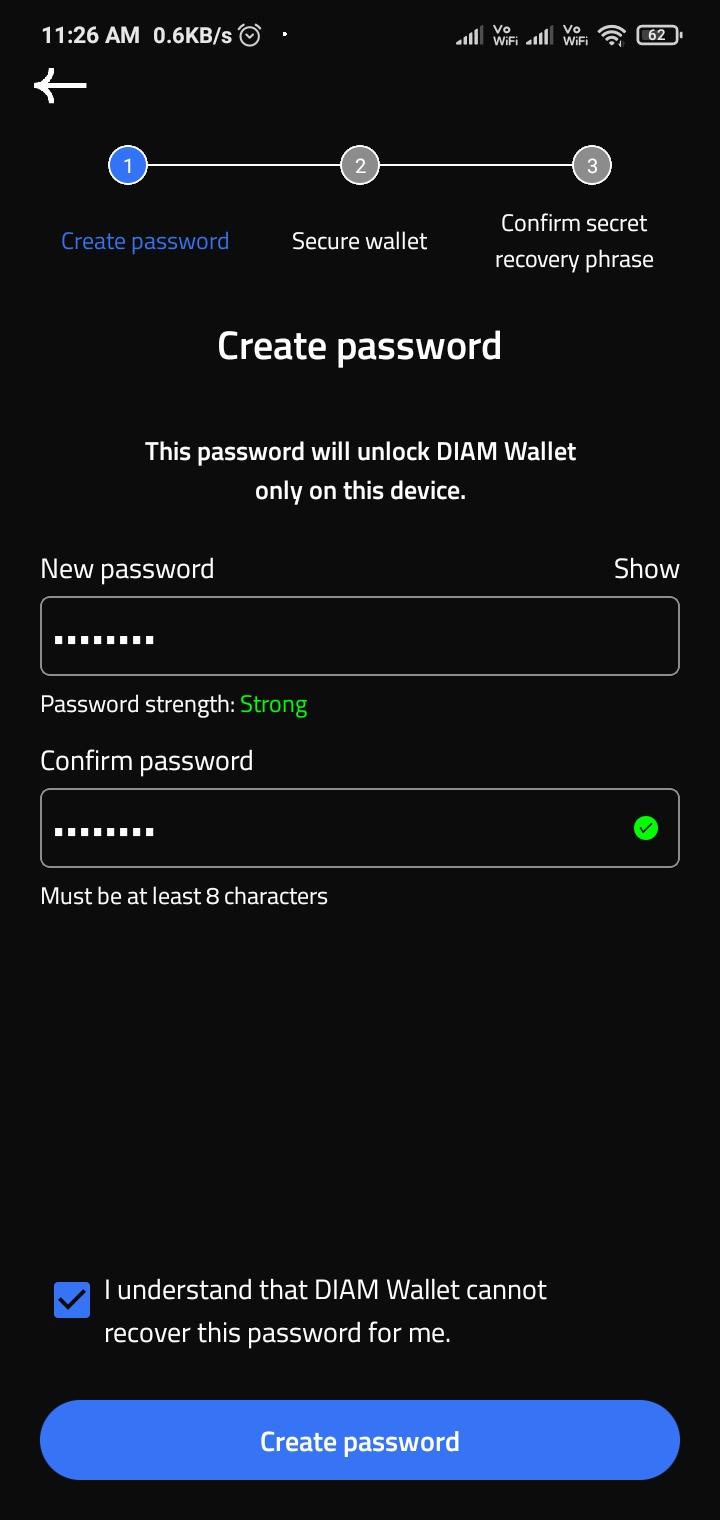
4. You will then be prompted to set a password for your wallet.
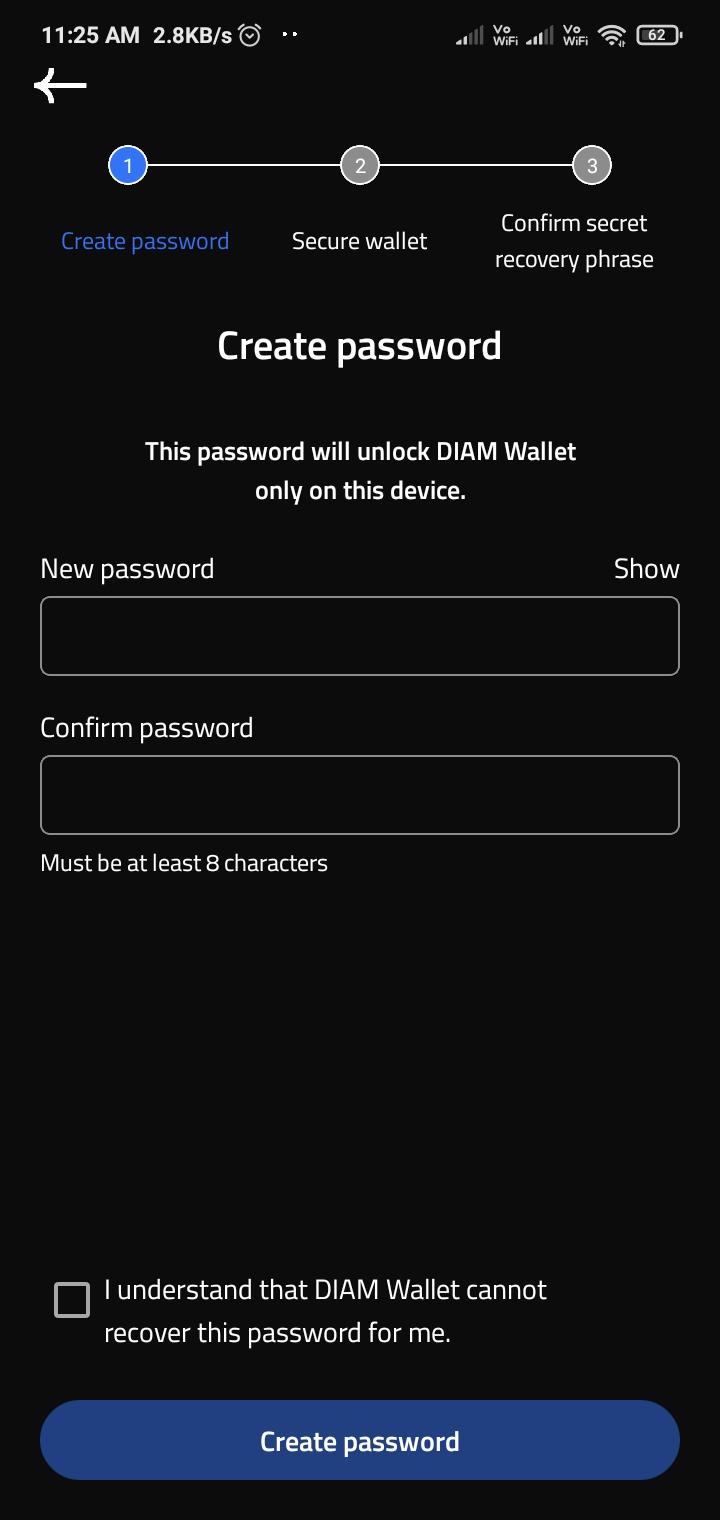
5. Enter a new password for your wallet and confirm it. Ensure to check the agreement checkbox.
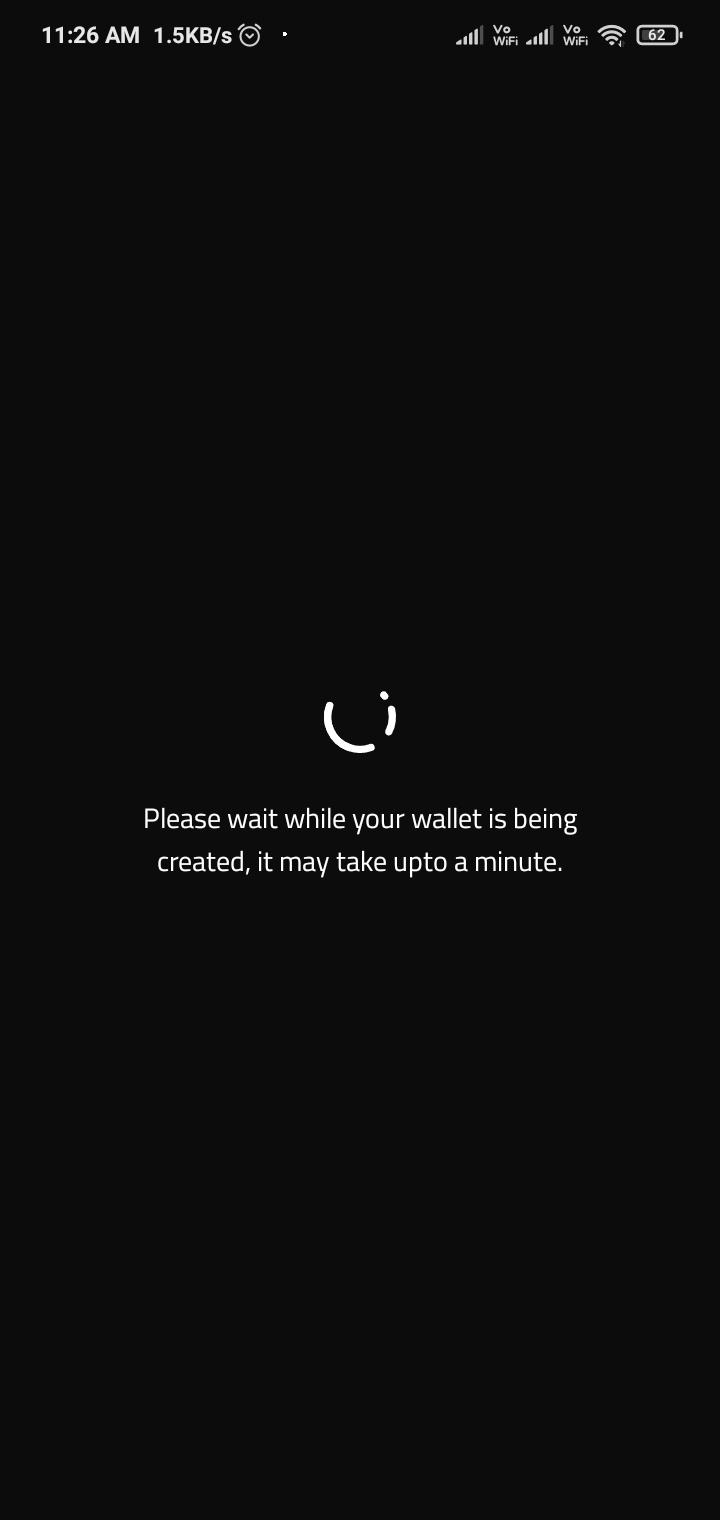
6. "Please wait while your wallet is being created." This indicates that the wallet creation process is in progress.
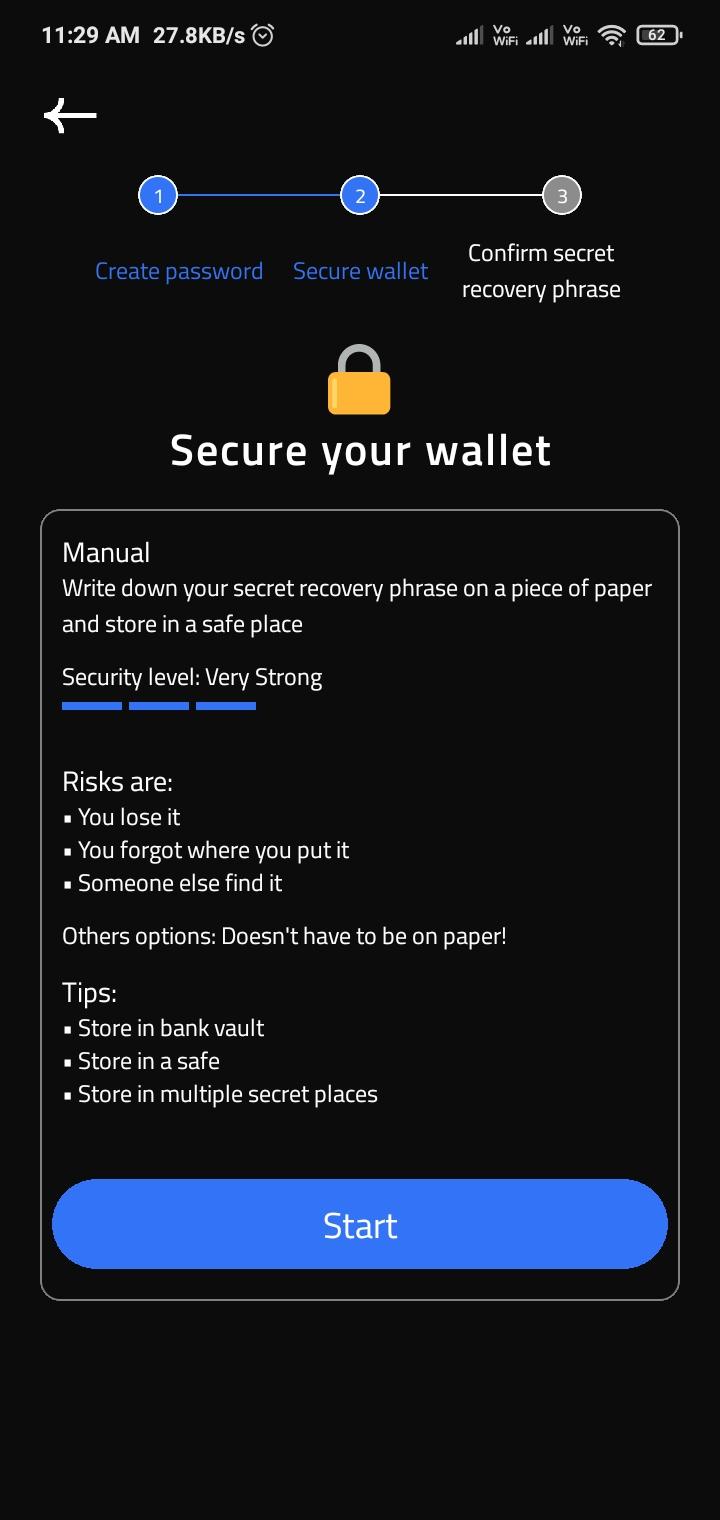
7. After setting up your password and agreeing to the terms, the next step is to secure your wallet.
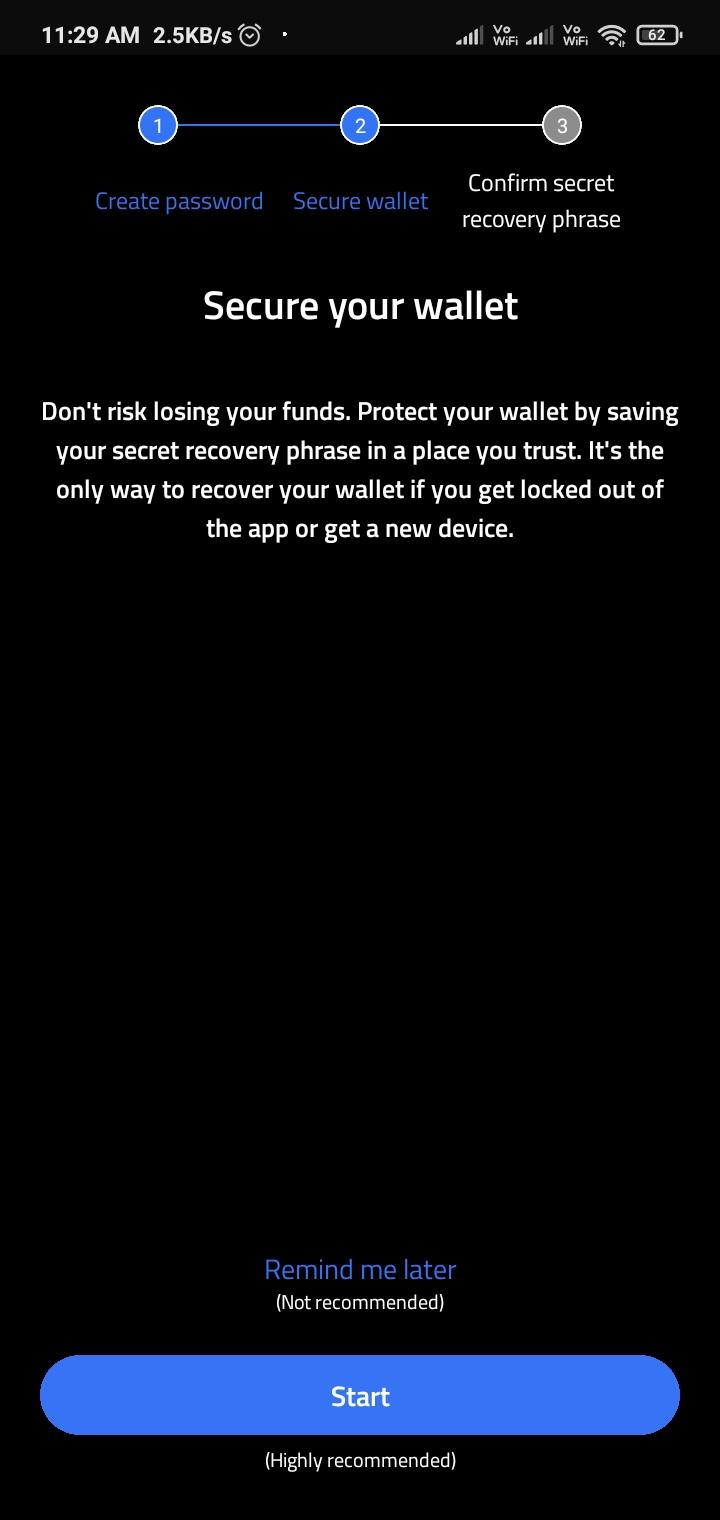
8. After securing your wallet, click on "Start" to proceed.
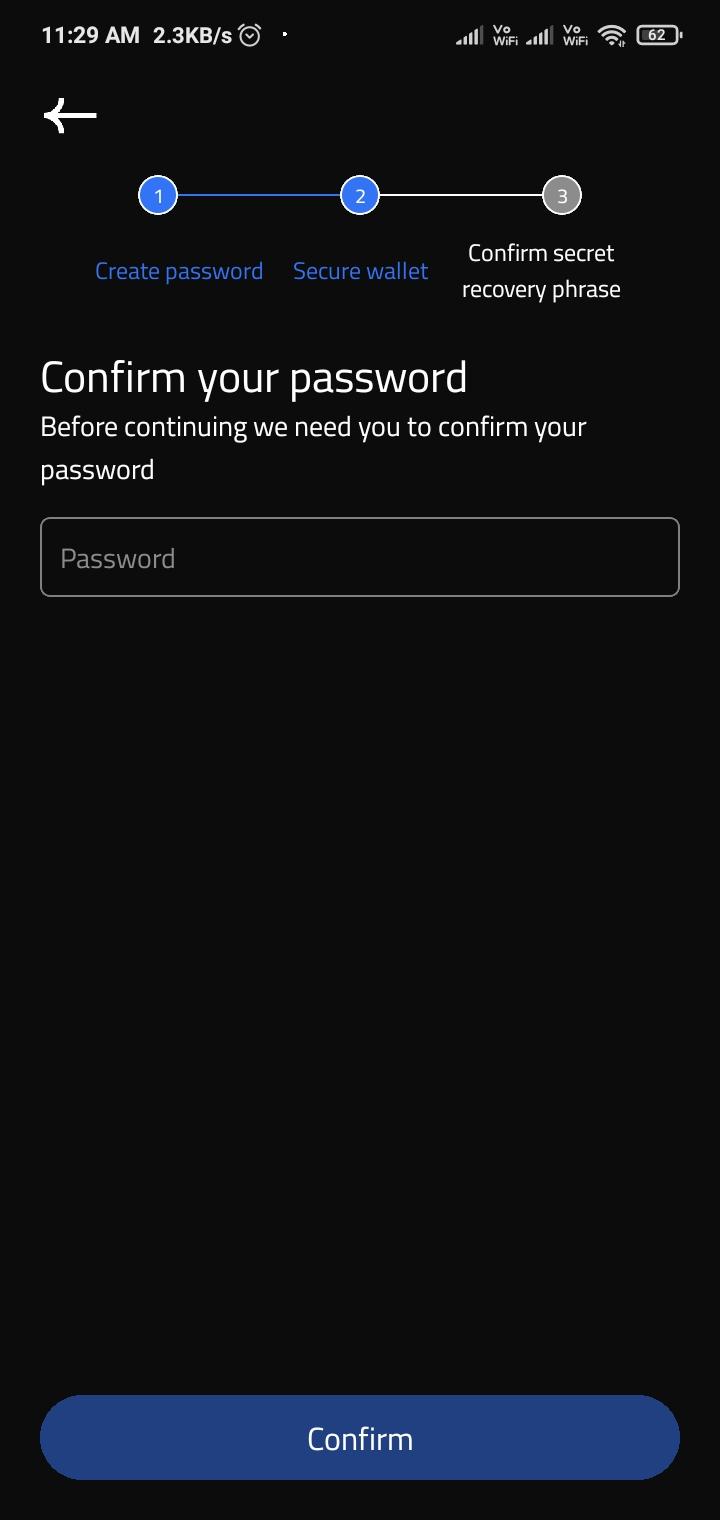
9. Confirm your password to continue.
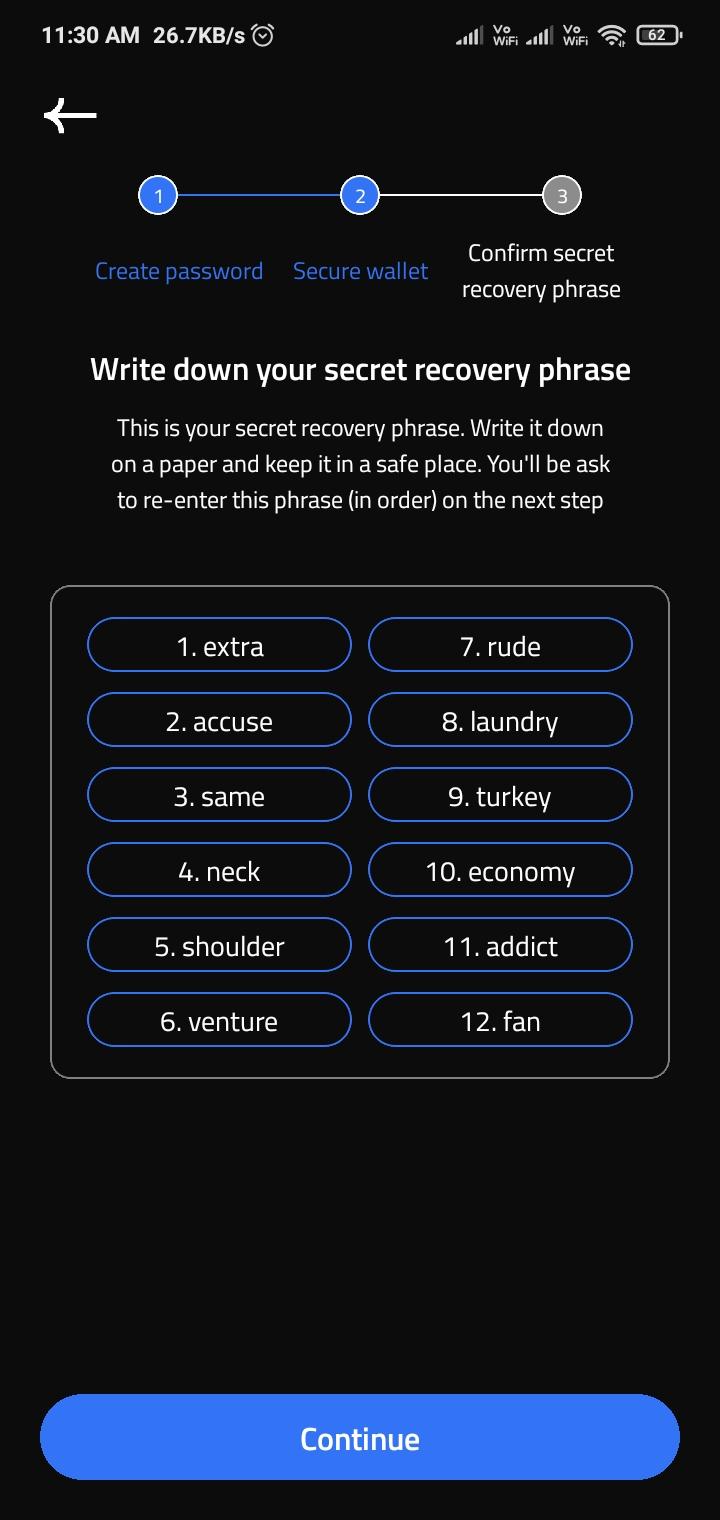
10. The app will then prompt you to view the secret recovery phrase. Click on "View" to reveal it.

11. Please write down your secret recovery phrase. Once you've done that, click the "Continue" button to proceed.
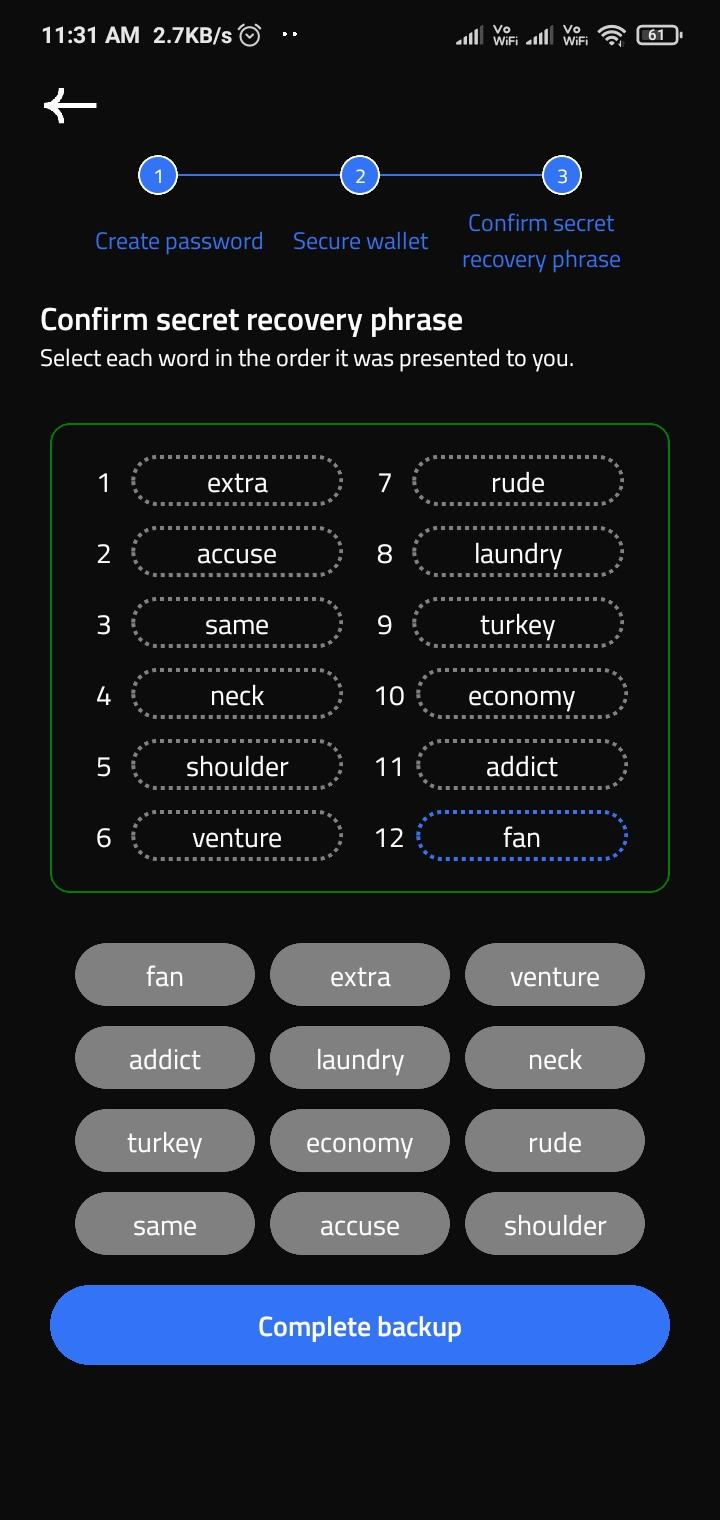
12. Confirm the secret recovery phrase to ensure its accuracy, and then click on the "Complete Backup" button.
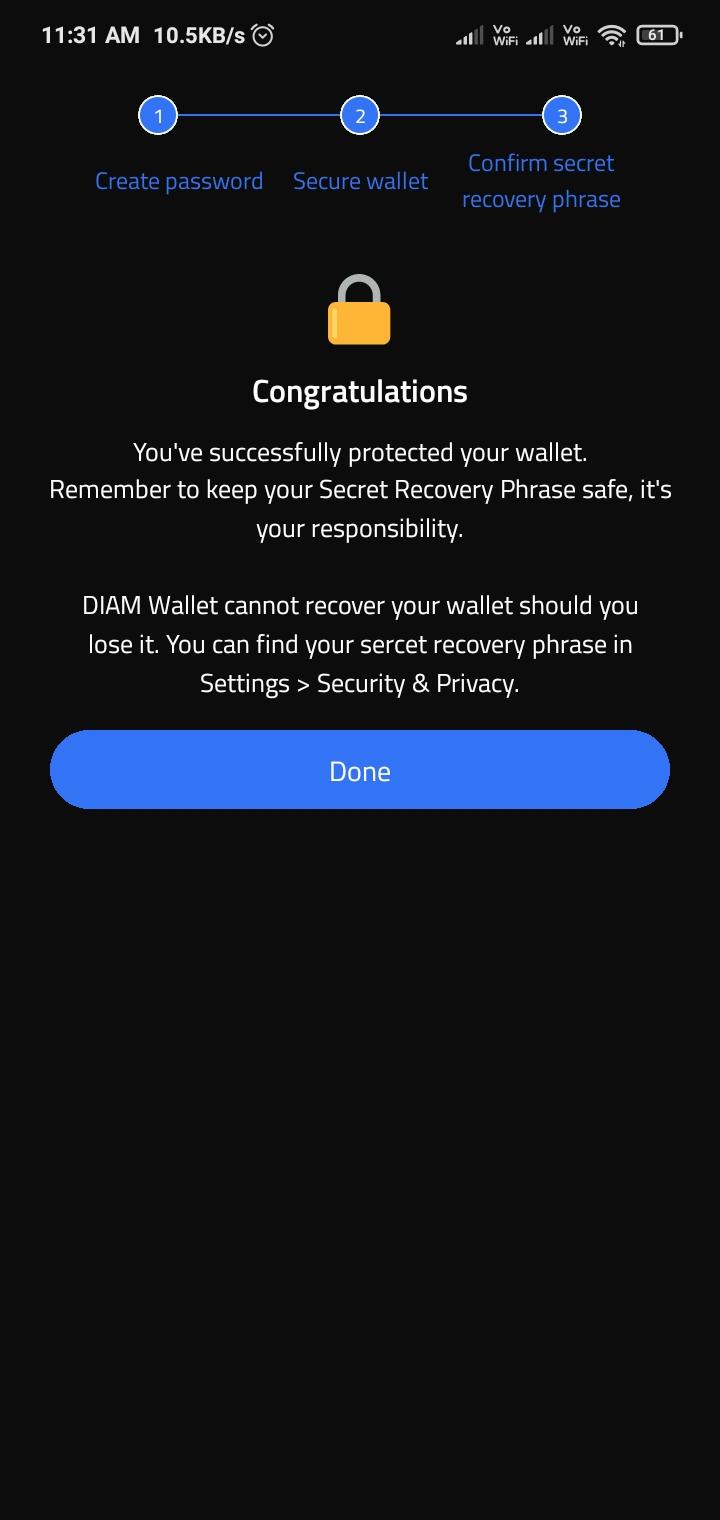
13. You will receive a message congratulating you on the successful setup. Click on the "Done" button to proceed to the dashboard.
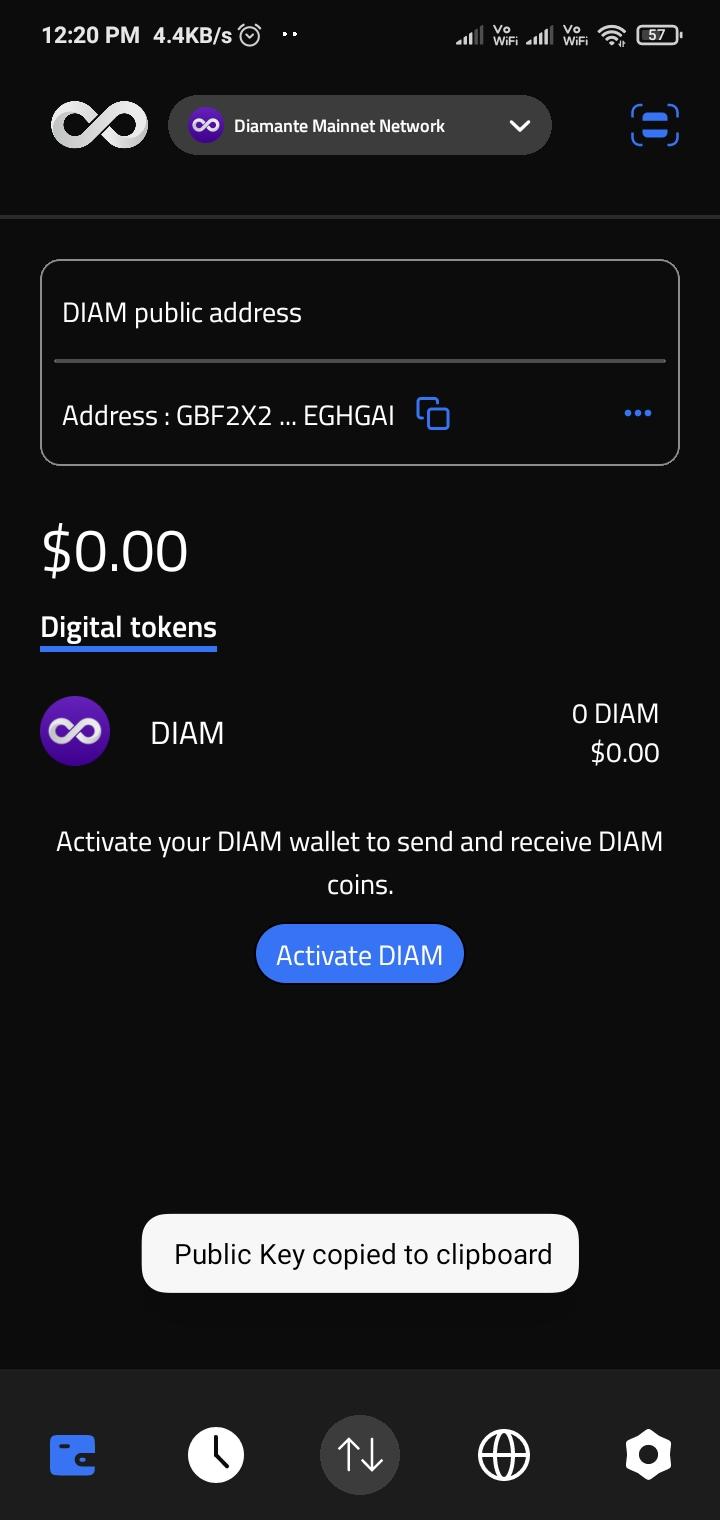
14. Afterward, the app will redirect you to the dashboard, where you can access various features, including copying your wallet address.


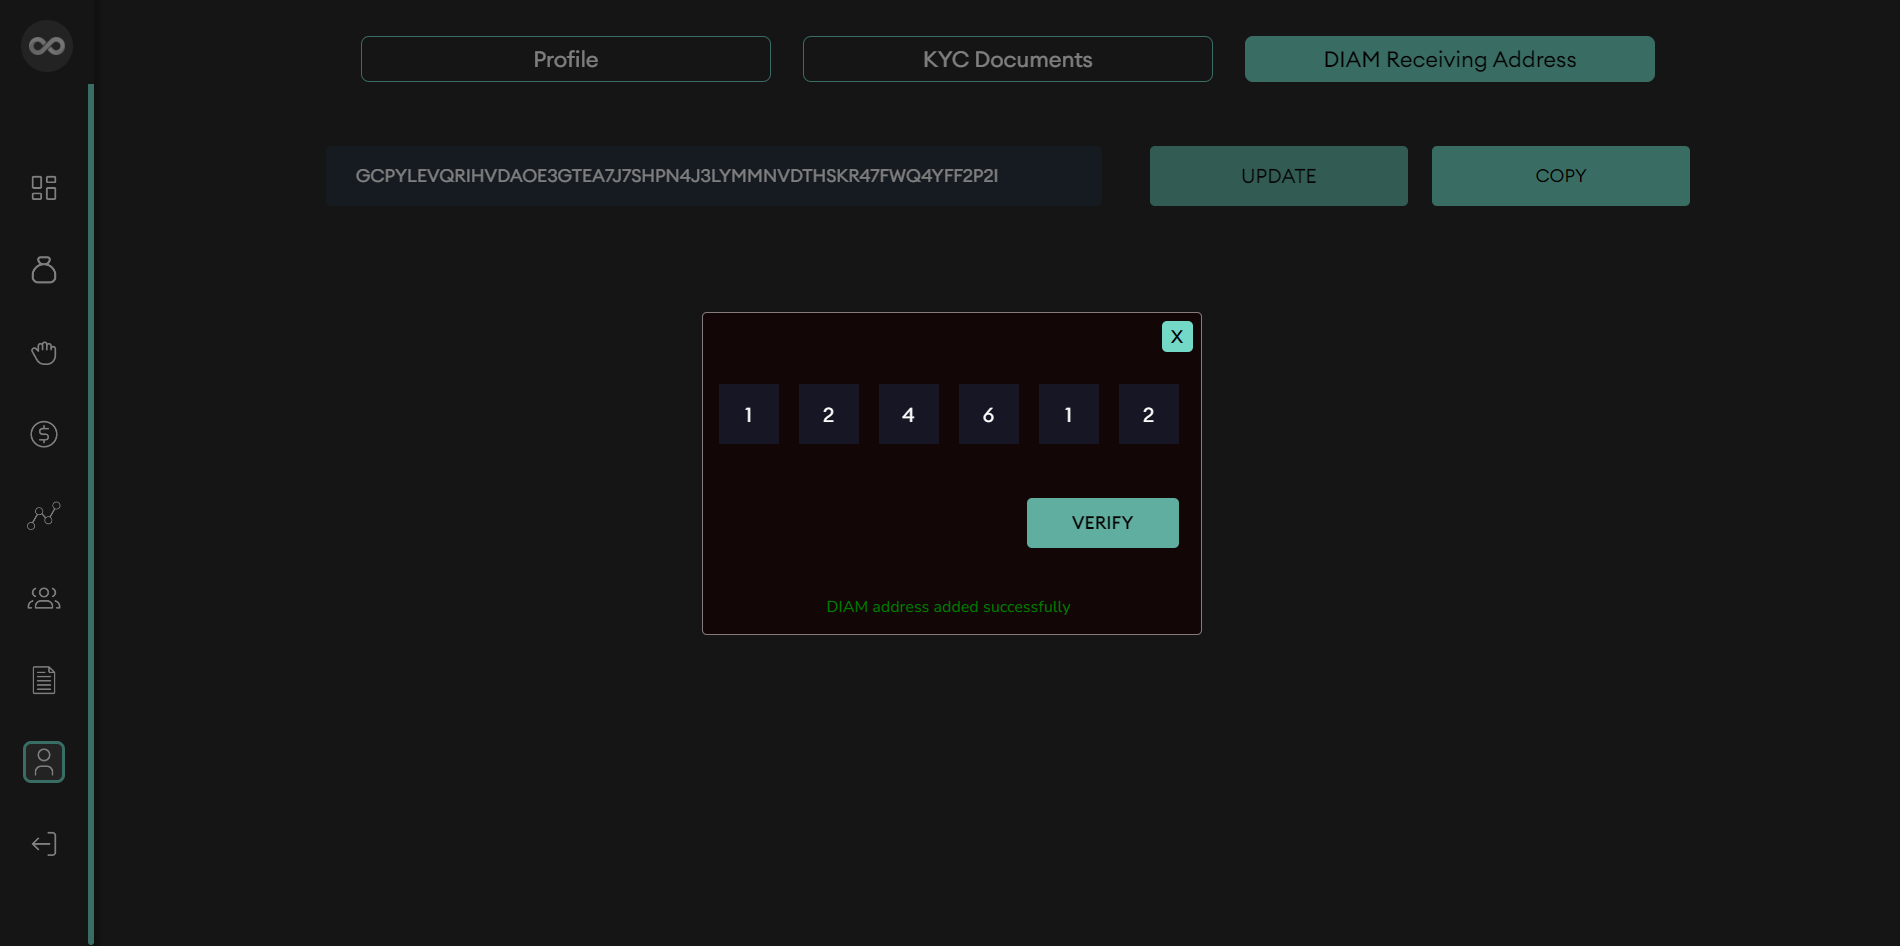
Steps to update DIAM Receiving Address in Diam Sale/ICO platform
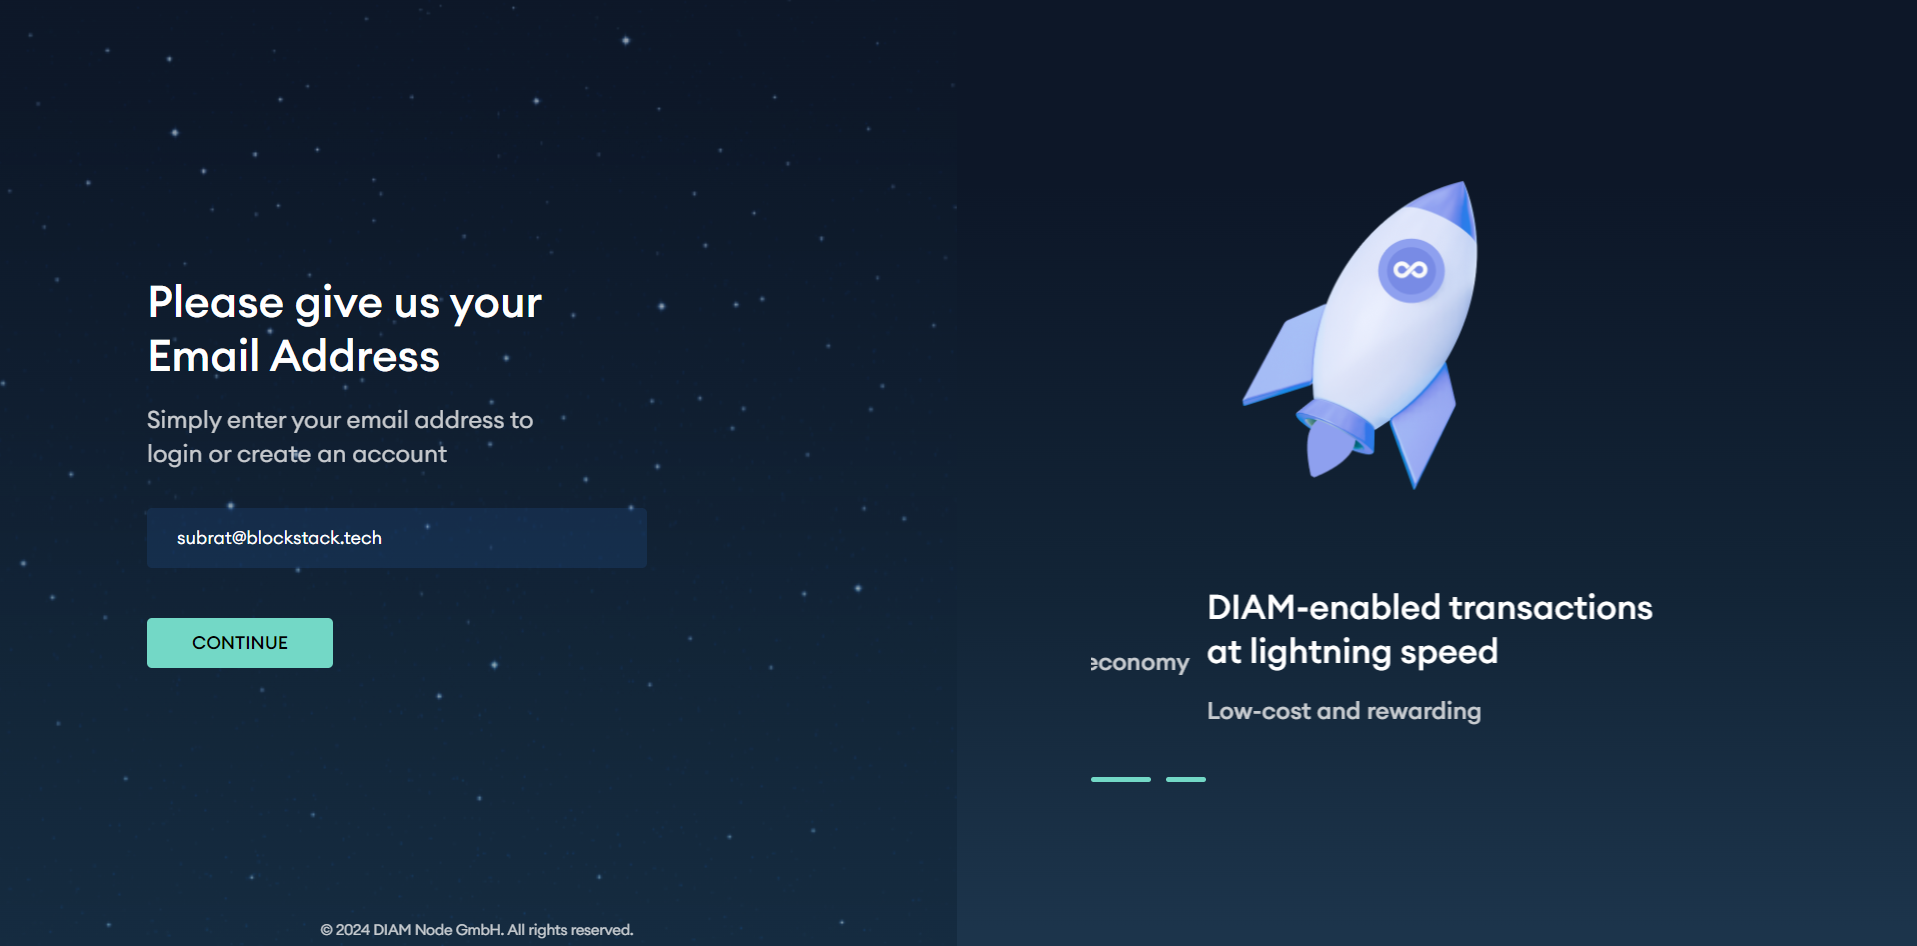
Log in to our application using your credentials.
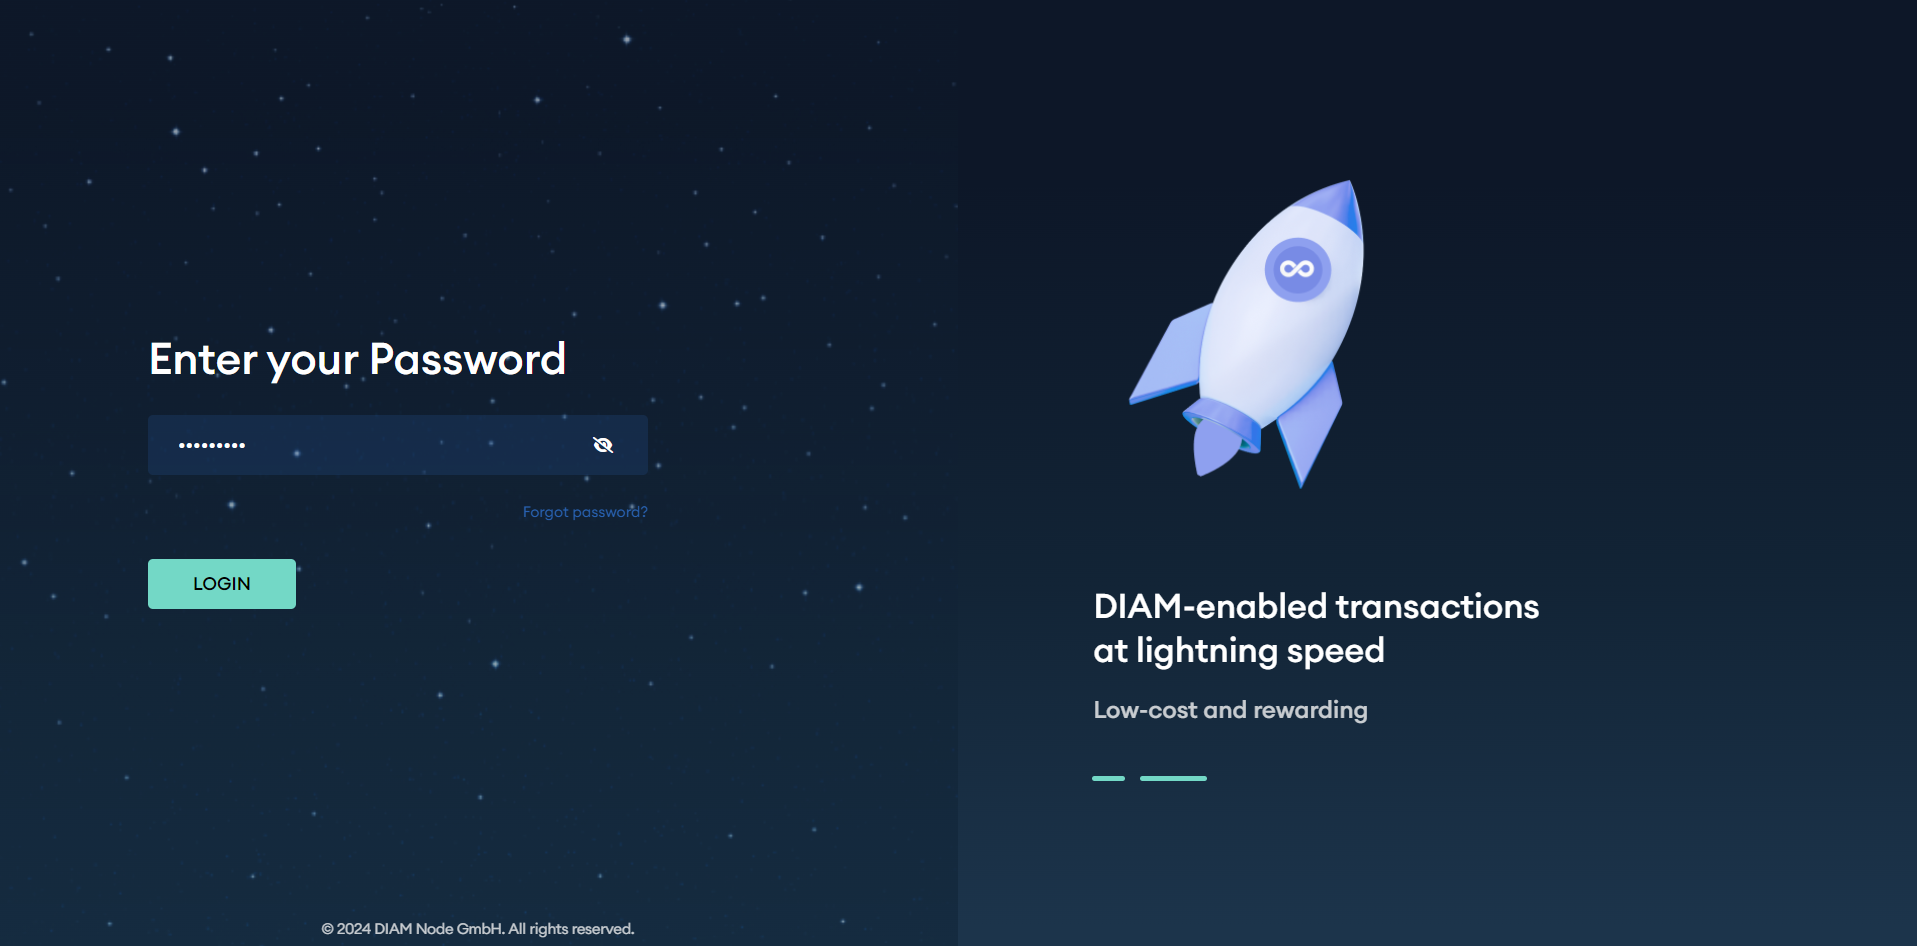
1. Enter your registered email address.
2. Authenticate using a PIN.
3. Enter your desired password.
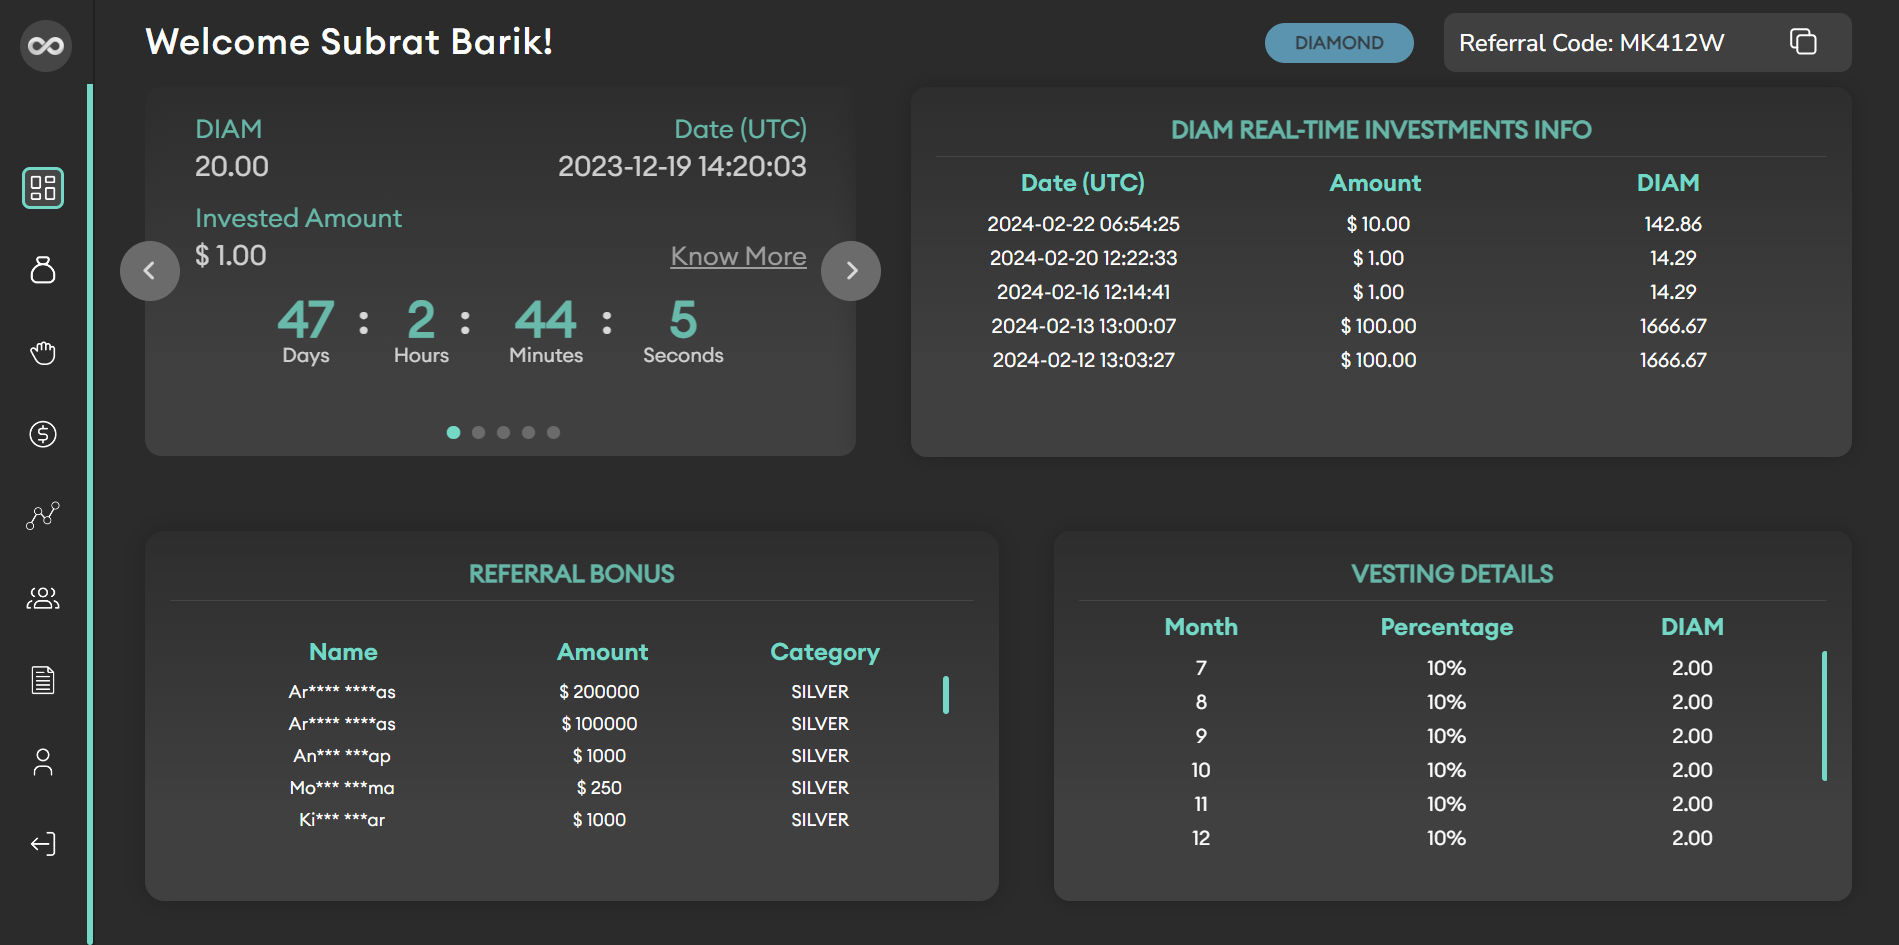
4. Once your email and password are verified, you will be redirected to your dashboard automatically..
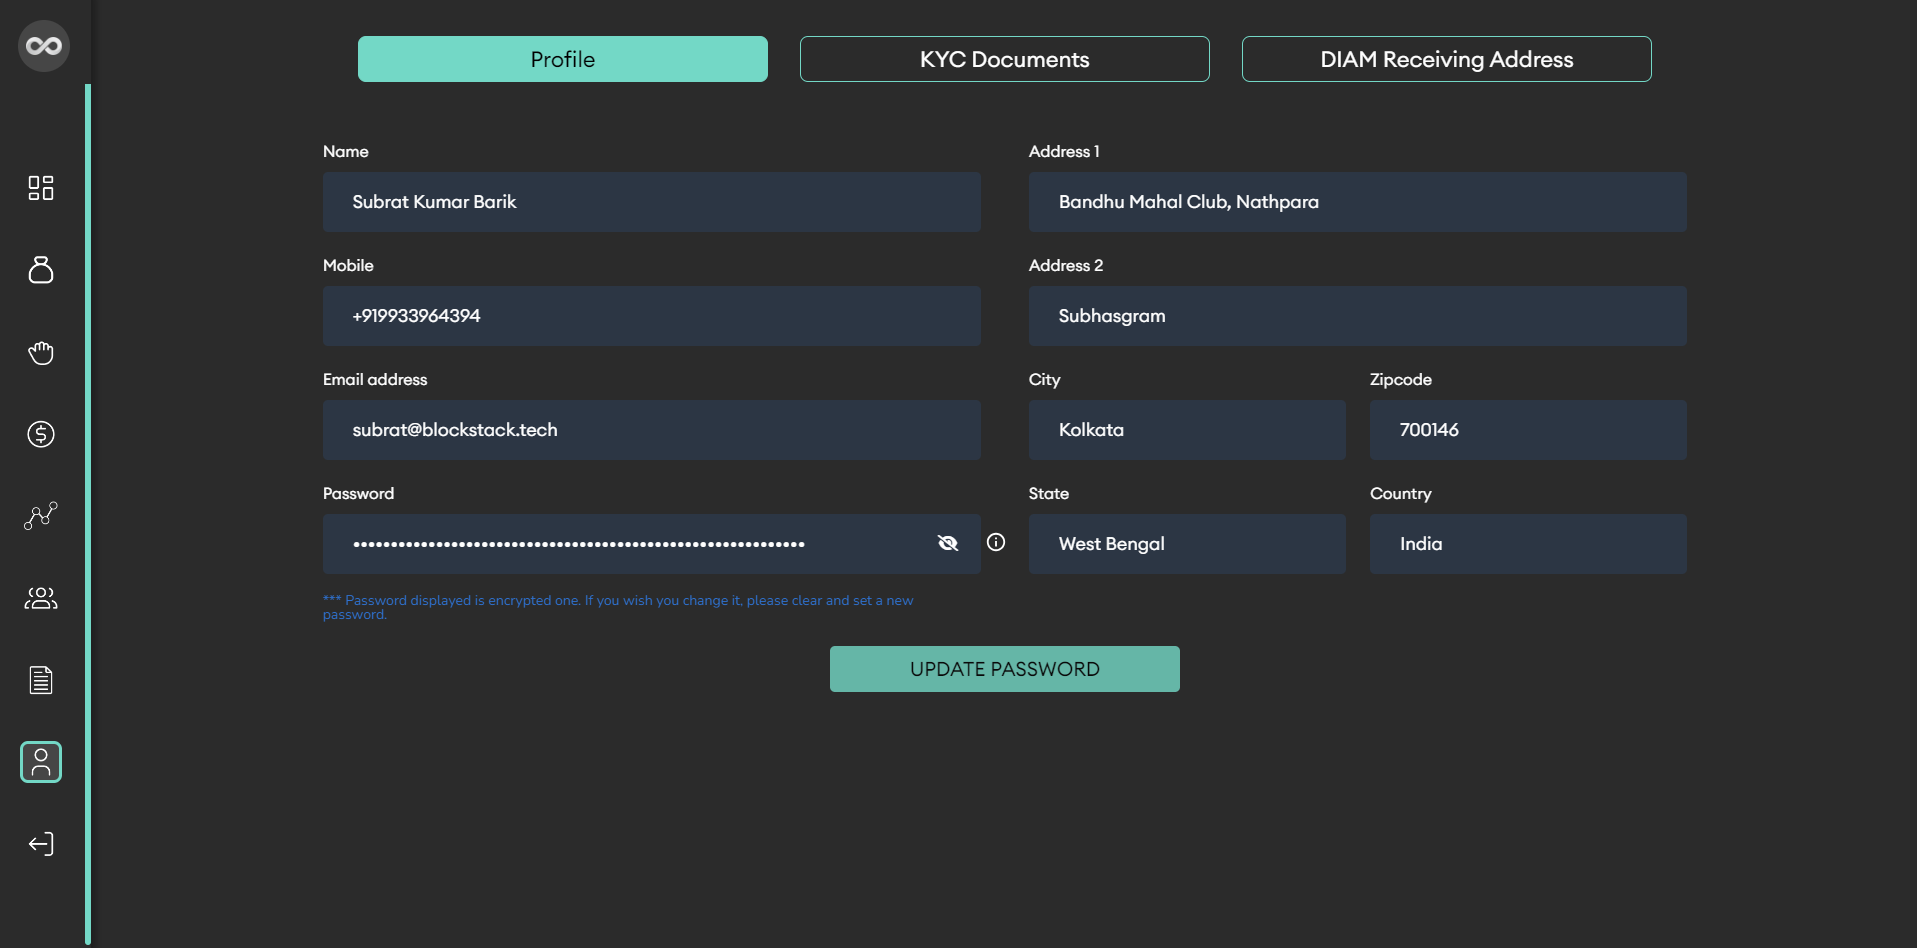
5. Navigate to the "Profile" section. This may be located in the sidebar navigation.
6. Once in the "Profile" section, locate the tab labeled "DIAM Receiving Address".
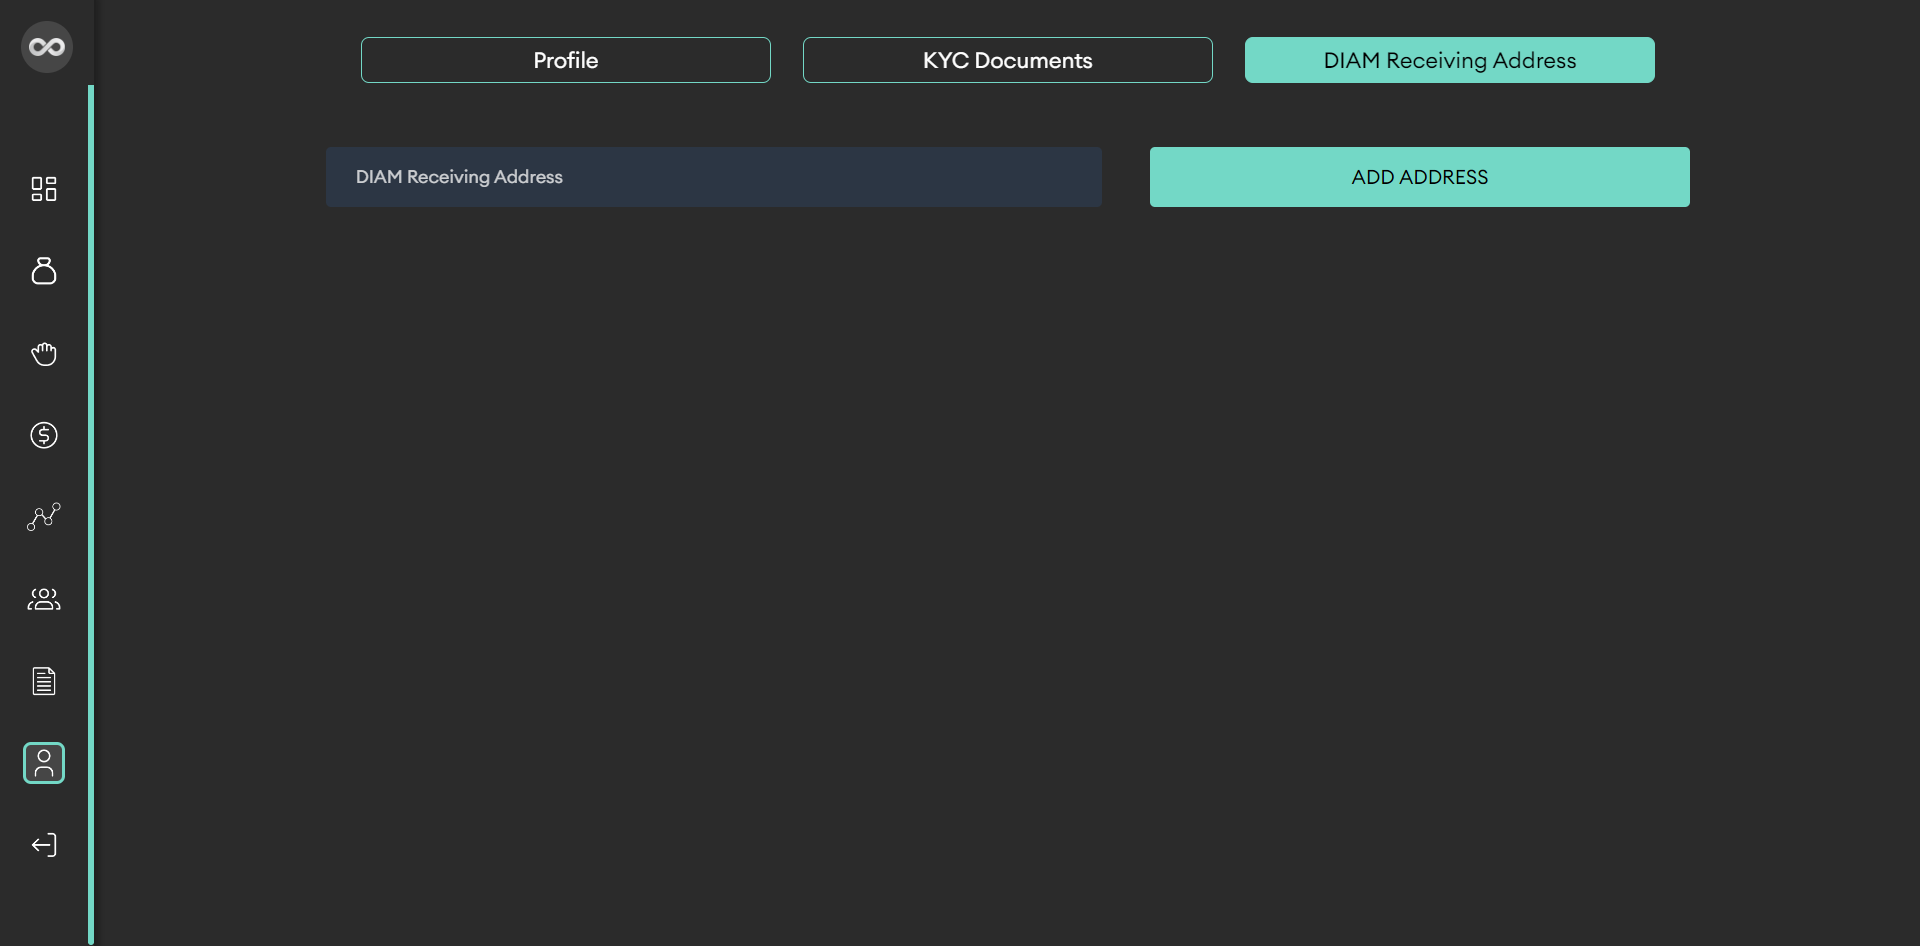
7. Carefully enter your DIAM public address into the designated input field. Ensure accuracy to prevent any issues with transactions.
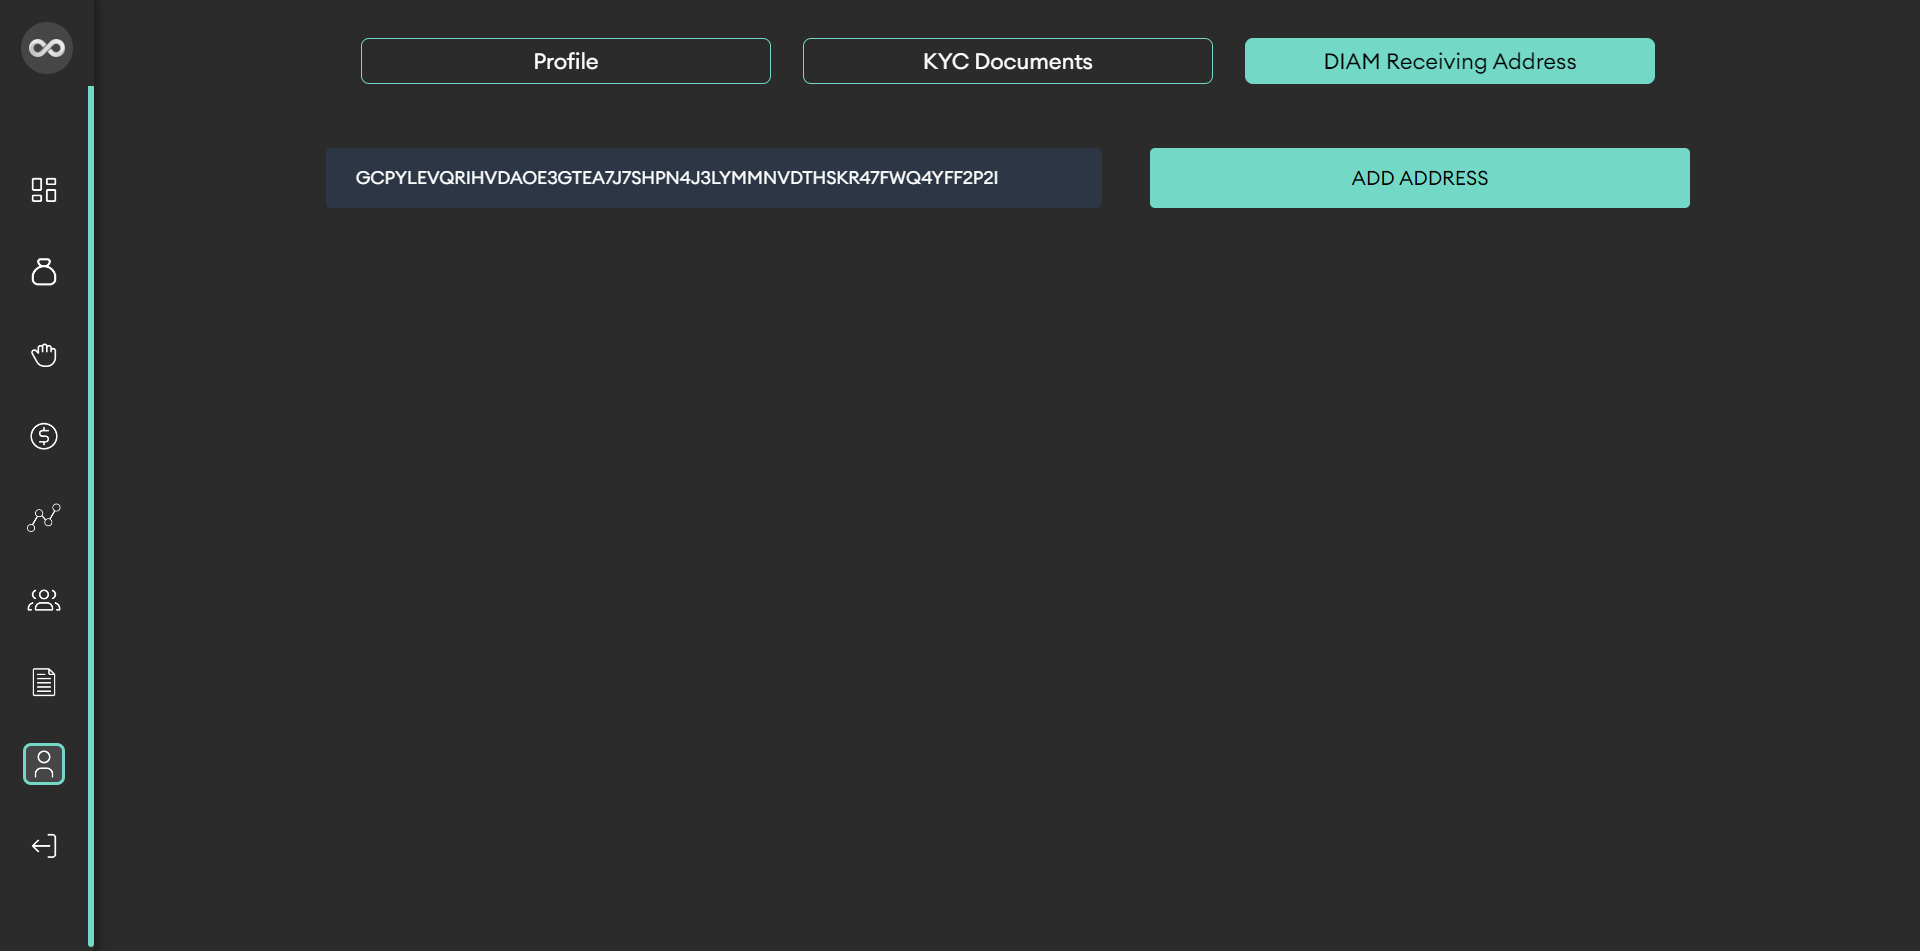
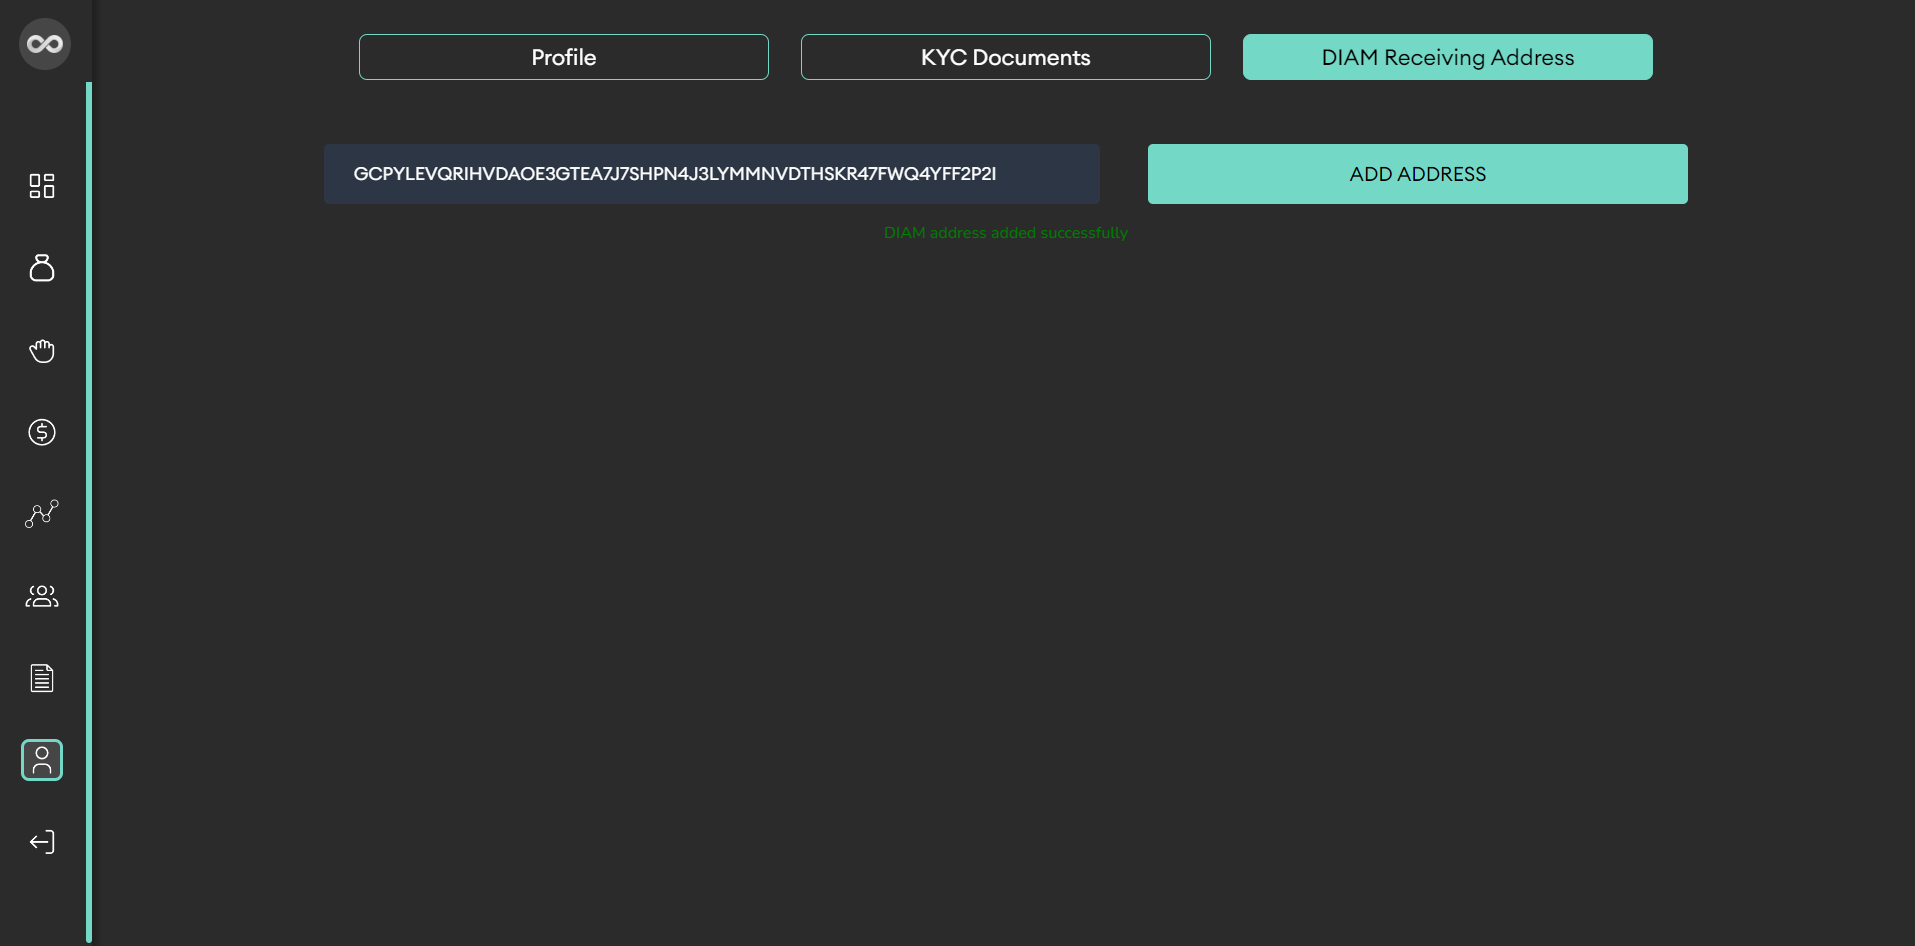
8. After entering your DIAM public address, click "ADD ADDRESS" button this ensures that your DIAM receiving address is updated and recorded in your profile section.
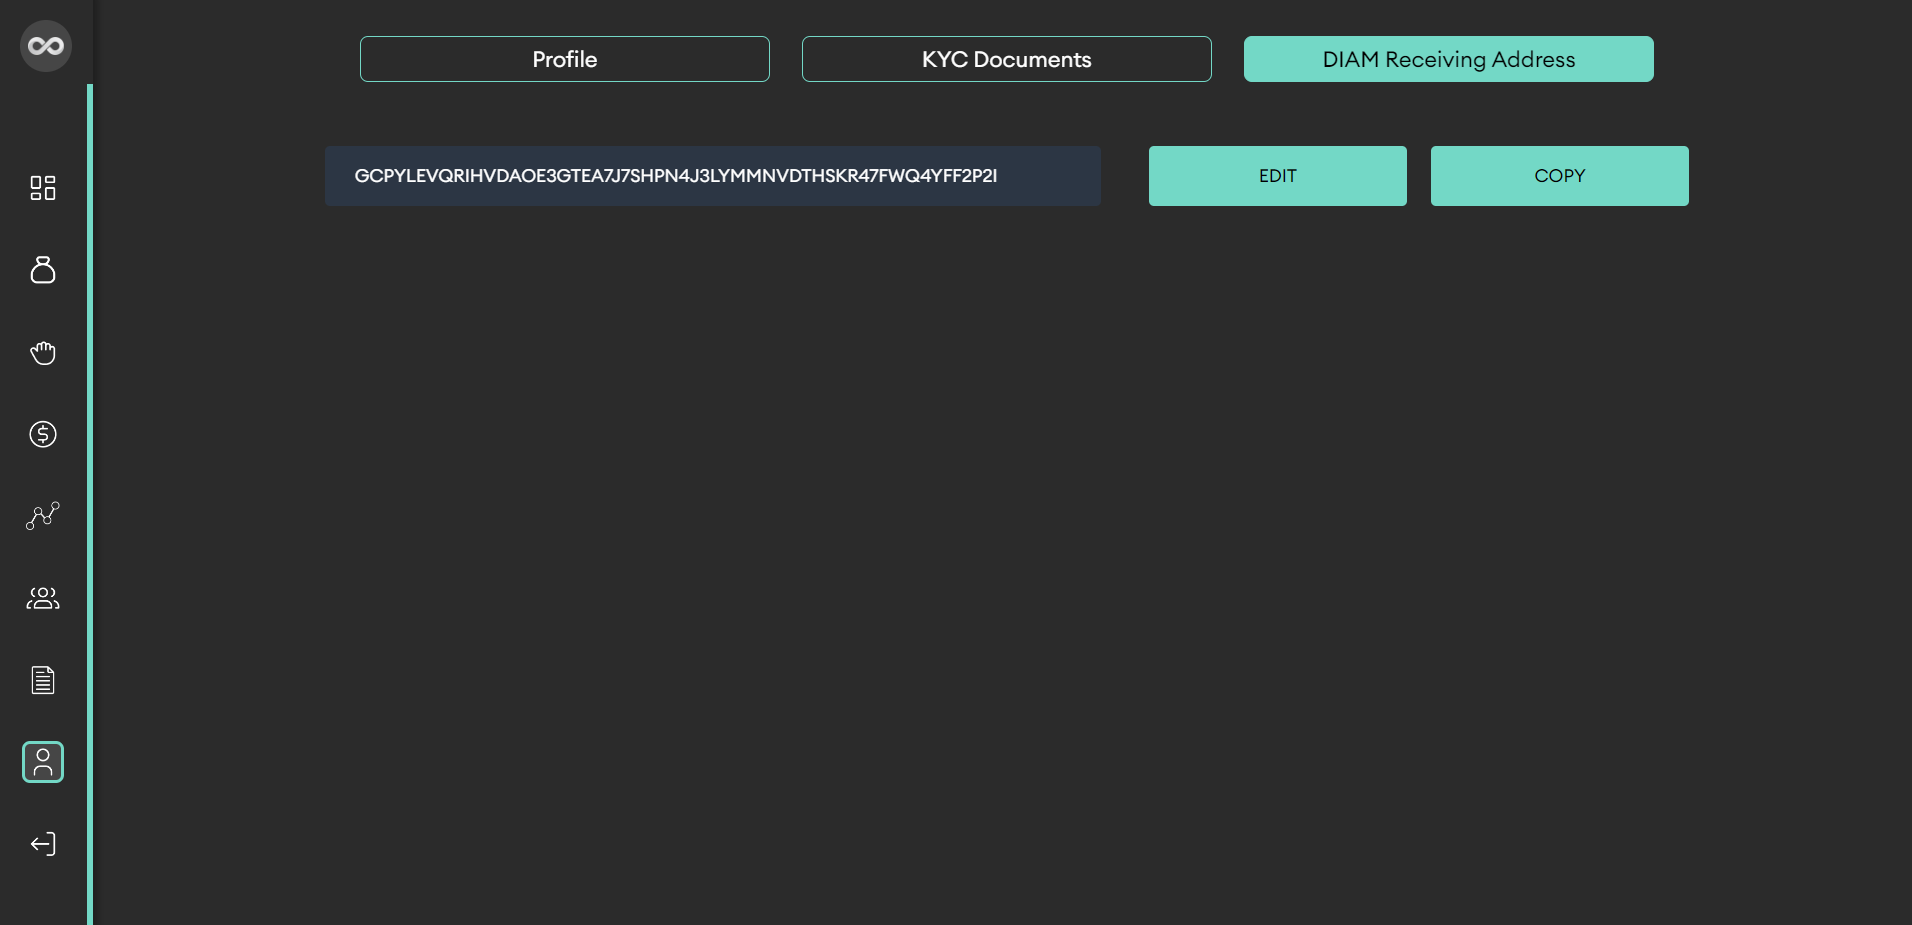
9. After adding your DIAM receiving address, if you need to edit it, simply click on the 'Edit' button to make changes.
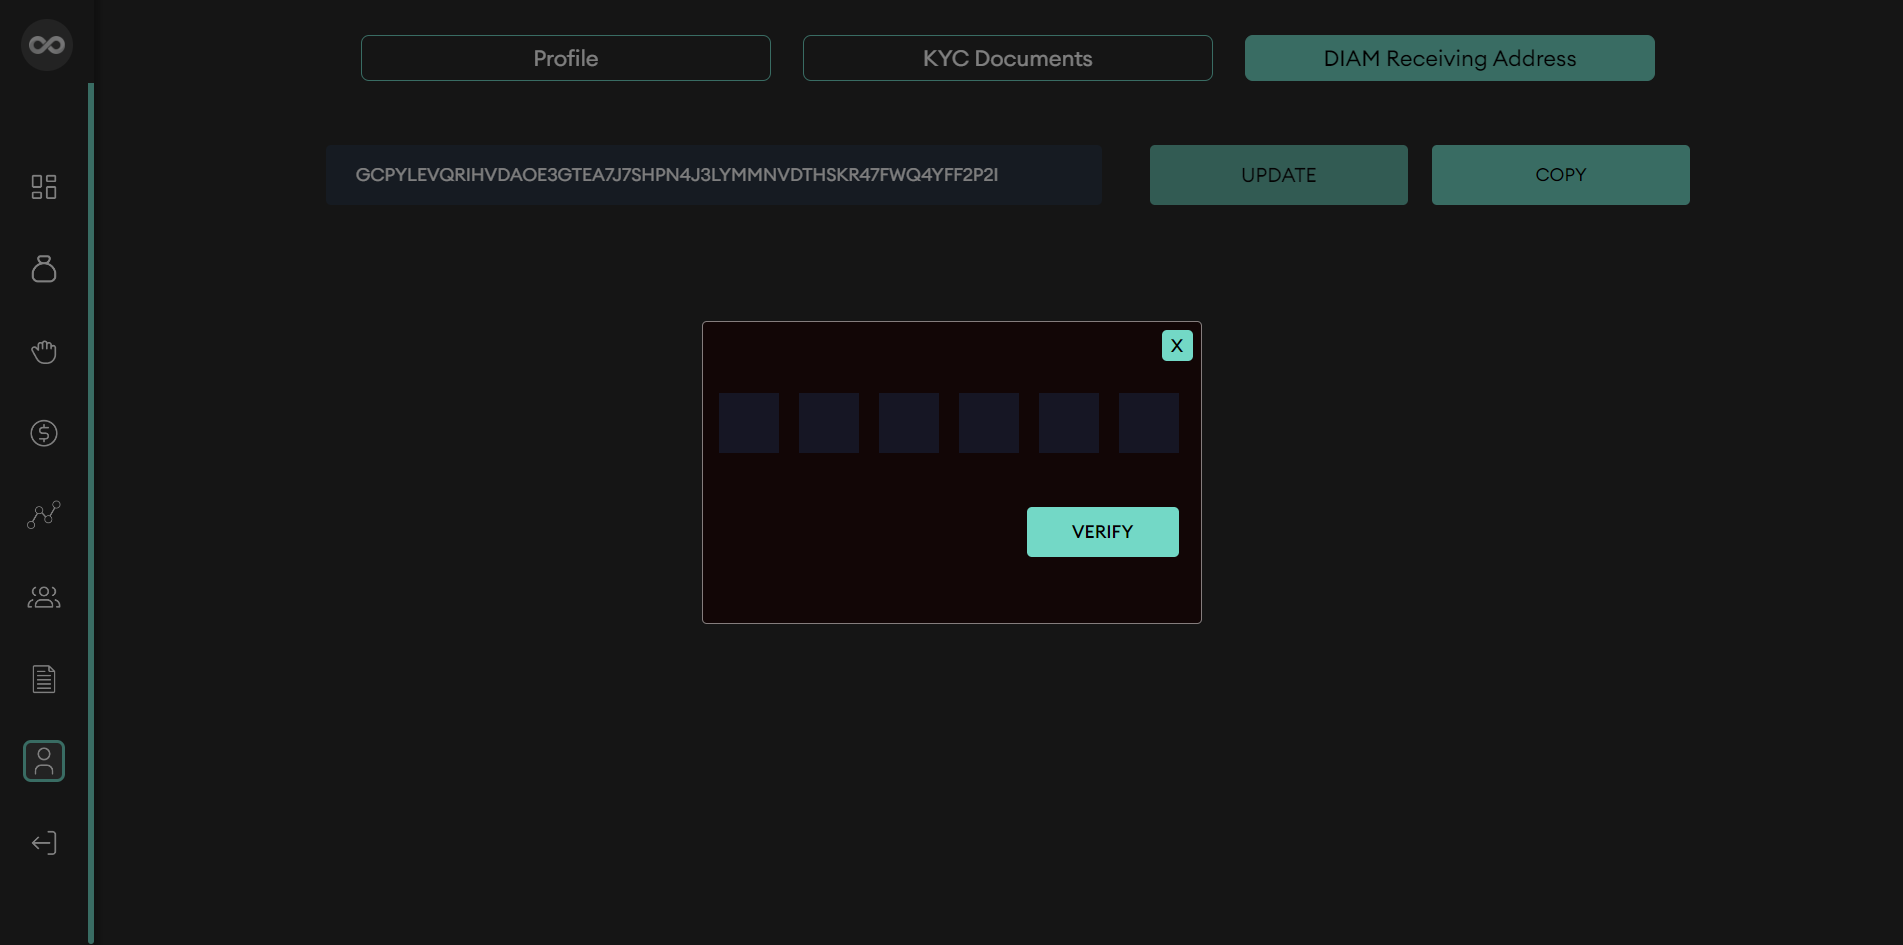
10. After making your changes, click on the "Update" button to save the updated address. You will receive a verification code to your registered email.
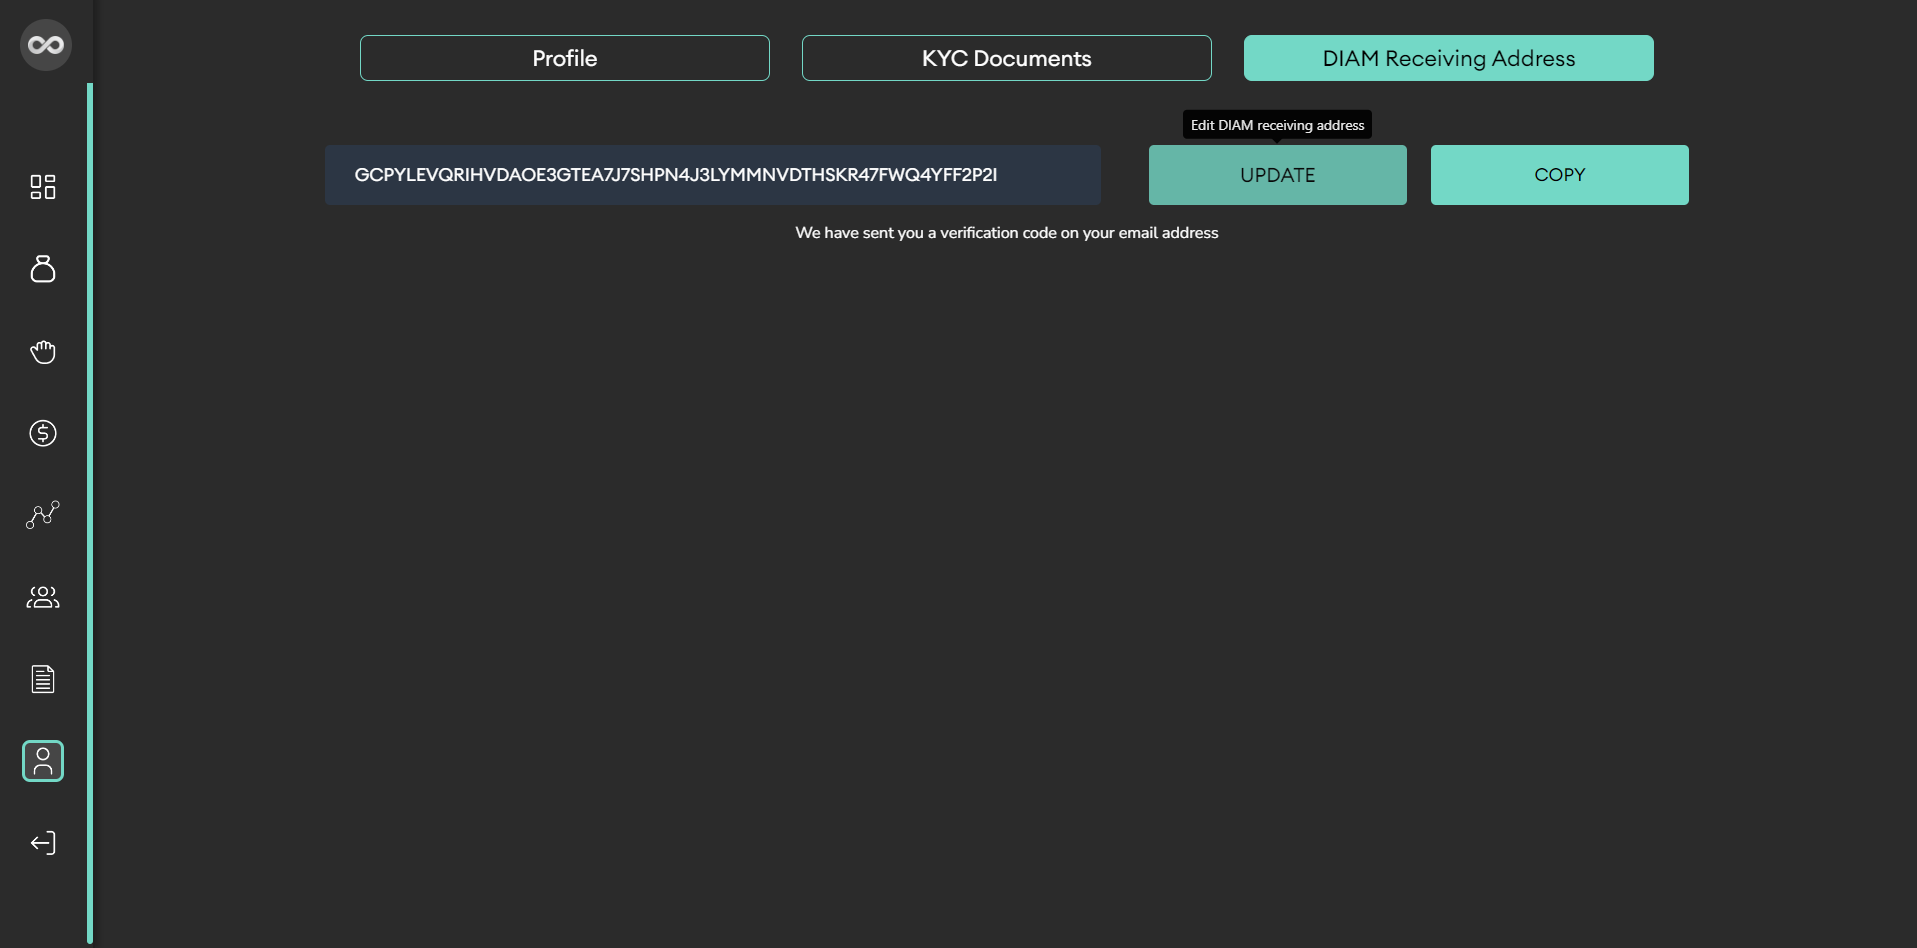
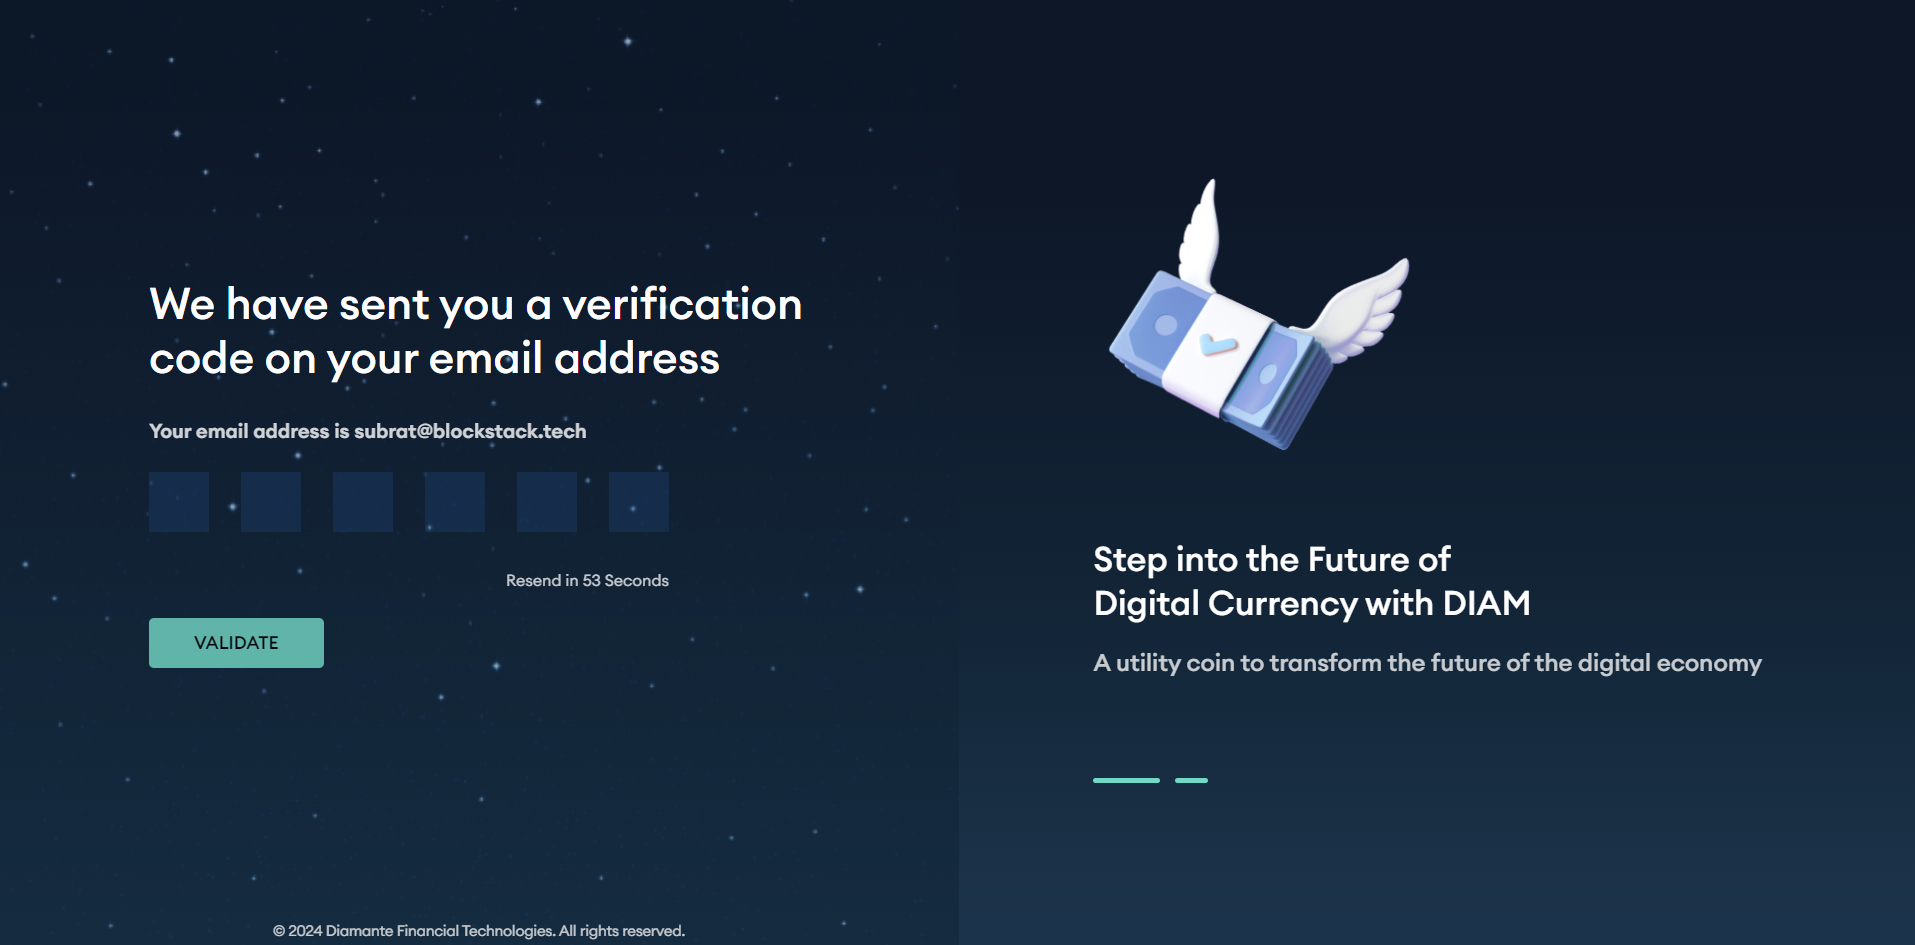
11. Next, check your registered email for the verification code and enter it in the provided field to confirm your changes.
12. Once the verification code is confirmed, your address will be updated automatically.